
How to Add Text to an Image in Python using OpenCV

In this article, we show how to add text to an image in Python using the OpenCV module.
OpenCV allows a user to add text to any image. This, of course, is useful for adding any type of text caption you need to any image. The great thing about this is, since it can be done programmatically with a module such as OpenCV, text can be added to an image dynamically, such as based on user's input.
We add text to an image in Python using the putText() function.
The putText() function allows us to add any written text to any part of an image in any size or color or position in the image that we desire.
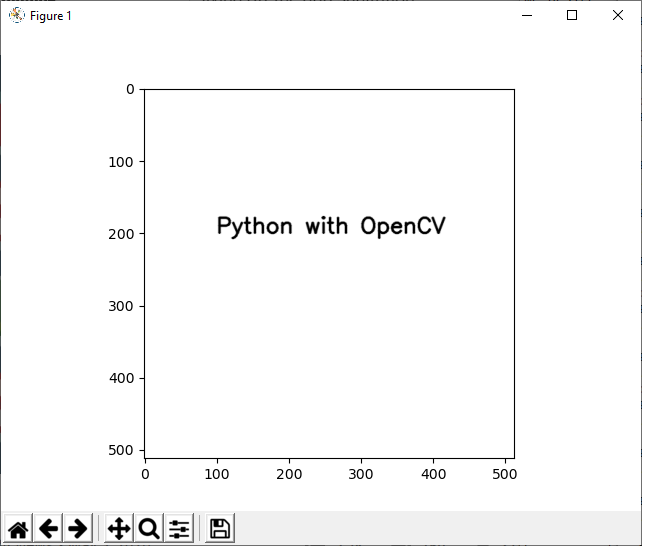
So below is an image that was a completely blank white image
with the text added to the middle with Python using OpenCV.
So let's show now how to add text to an image in Python using the OpenCV module.
The code to add text to a blank image is shown below.
Let's now go over this code.
First, we import all the modules we need which is cv2 (OpenCV), numpy (to create a blank image), and matplotlib (to get grided axes).
Next, we create a blank white image and store this in the variable, whiteblankimage. This is done using numpy.
We now have a blank image (like a canvass) in which we can now add our text.
Next, we use the cv2.putText() function to add text to our blank image.
The first parameter that we must feed into the cv2.putText() function is the image we want to draw it on. We will be using what we created with numpy, whiteblankimage. This provides a perfect clean white background, in which we can add our text.
The second parameter we must specify is where the text starts. org represents the beginning of the start of the text. We want our text, in this example, to begin at, (100,200). If you're not sure where to begin, show the blank image with grids first before beginning the square. Then you can see the dimensions of where you want the text to start.
The third parameter we must specify is the type of font to use. We simply choose, cv2.FONT_HERSHEY_SIMPLEX, which is a common type used.
The next thing we must do is choose the size of the text to use. This is specified with the attribute, fontScale. This can be a value from a fraction of 1 (such as 0.5) to a value greater than 1.
The next parameter we must specify is the color of the text. We choose black in this instance which is represented by an RGB value of, (0,0,0).
Next, the thickness of the text is specified, which represents how bold the text is.
Lastly, we specify the linetype, which normally is sret to
cv2.LINE_AA.
The next image shown below is an image loaded from a
wiki page from the internet with text added to it with OpenCV.
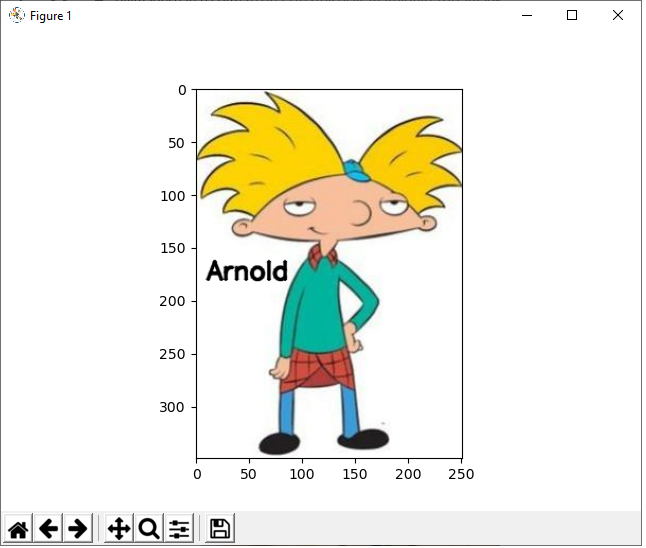
If you want to see the original image, it is at the following link: Hey Arnold.
The full code to add the text, 'Arnold', to this image is shown
below.
So this code is similar to the one before but instead of creating our own blank image with numpy, we load in an image with the cv2.imread() function.
The rest of the code is standard like before.
And this is how to add text to an image in Python using the OpenCV
module.
Related Resources
How to Randomly Select From or Shuffle a List in Python