
How to Create a Root File System for Linux using Buildroot
In this article, we will show how to create a root file system for linux using buildroot.
Buildroot is an open source project which utilizes a variety of different softwares to create software for embedded linux systems, including linux kernels, u-boot.img files, root file systems, MLO files, etc... all the files needed to run embedded linux on a hardware.
Buildroot can create the full suite of softwares needed for embedded systems, or we can simply create the root file system only.
In this article, we show how to create the root file system only using Buildroot. And then we easily show how to create the full suite of softwares needed for embedded applications.
So let's begin.
So the first thing you'll have to do is to the Download page on the Buildroot website. This can be found at the following link, https://buildroot.org/download.html
This is shown below.
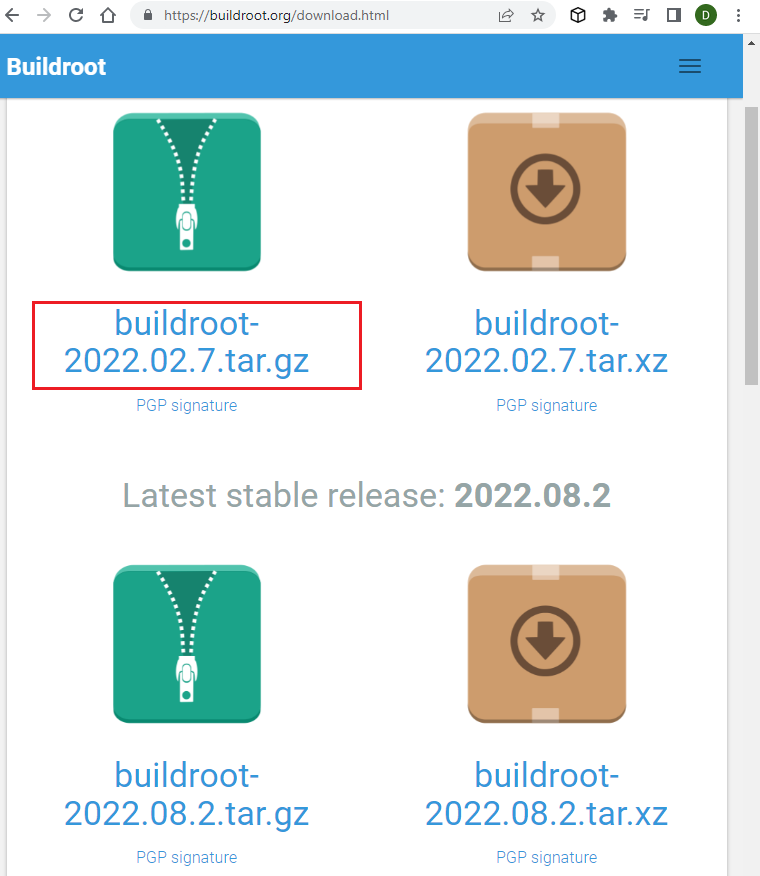
You can download either the latest stable release or the latest long-term support release. It shouldn't matter.
As of the time of writing this article, the version highlighted in red was the latest stable release, which was what I went with.
Once you have downloaded this buildroot package, then extract its contents.
This is an examination of the contents of the buildroot directory before any build is executed on it.
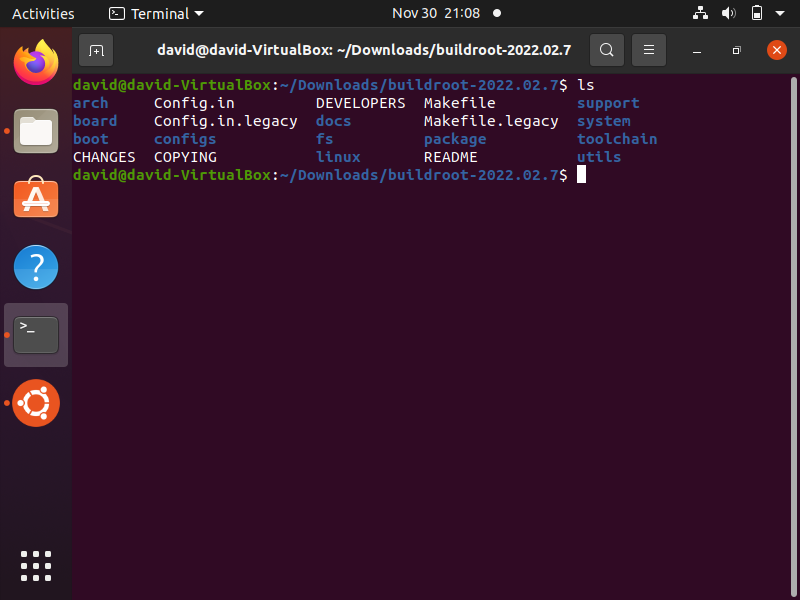
This is good to see because you'll see the creation of an output directory after we complete the build. This output directory will contain the software files that we'll need for our embedded application.
One thing that's important to check is that your board is supported.
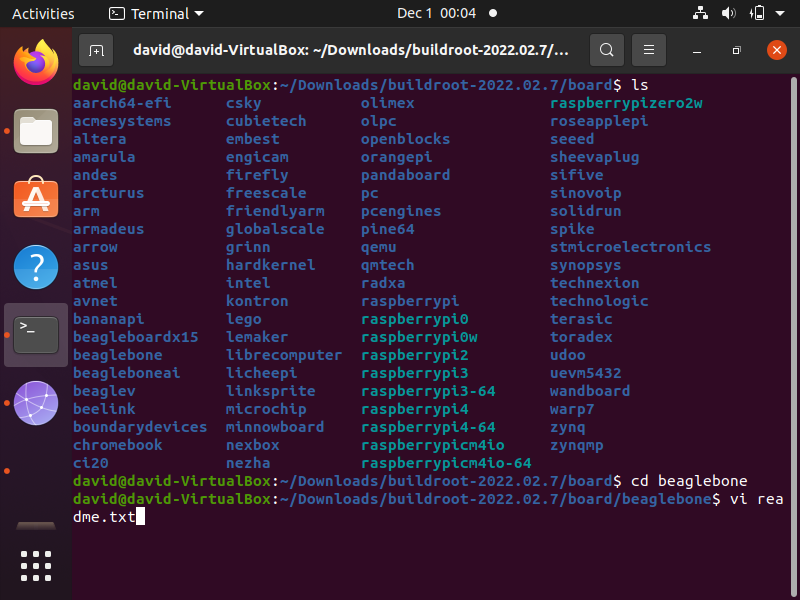
To check this, cd into the board directory in the buildroot directory.
This is shown below.
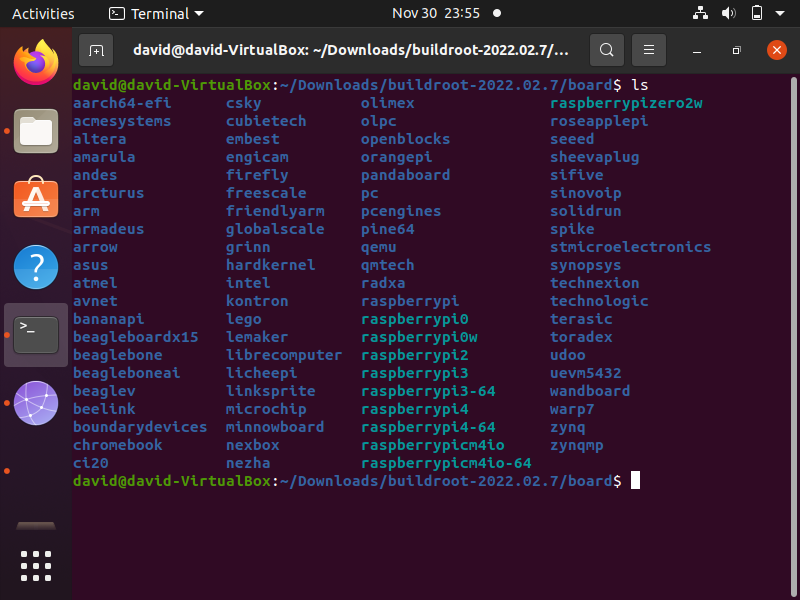
Since I am using a beaglebone black board, I see that there is a board named beaglebone in this board directory. This is good. To see if the specific board is supported, you can view the readme.txt file for the board you are looking for. First, cd into that board that you want to check (in this case for me, it is beaglebone) and then type in, vi readme.txt
This is shown in the terminal below.
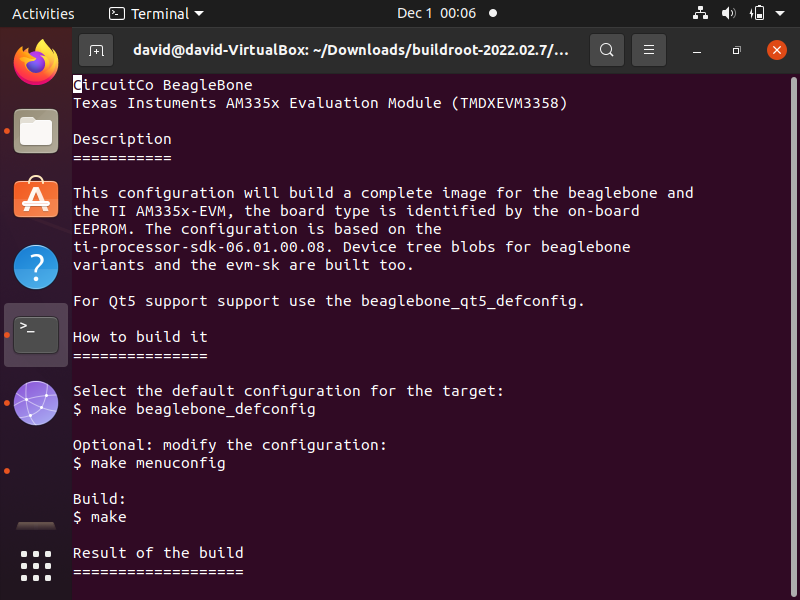
When we execute this command, we get to the readme.txt file for various beaglebone boards.
At the beginning of this file, we see all the instructions how to build the
embedded software, shown below.
If we scroll down, then we see the hardware this software has been tested on, and we
see that the beagleboneblack board.
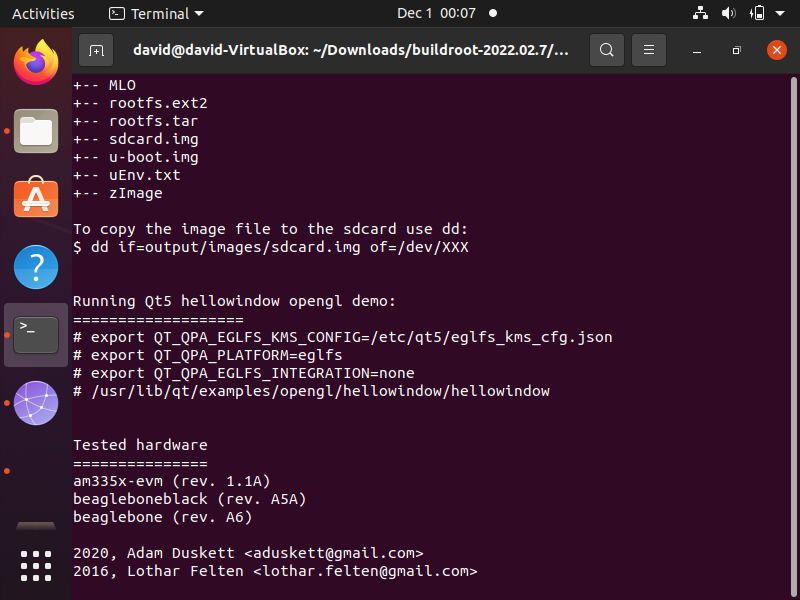
Thus, we know that this software will work on the beaglebone black board. So this is one way of knowing if your specific board is supported or what boards have been tested.
So this is good to know.
So now we exit from this file and go back to the terminal.
Make sure that you cd out of beaglebone and the board directory and go back to the root directory of buildroot.
Now we will start to build the embedded software.
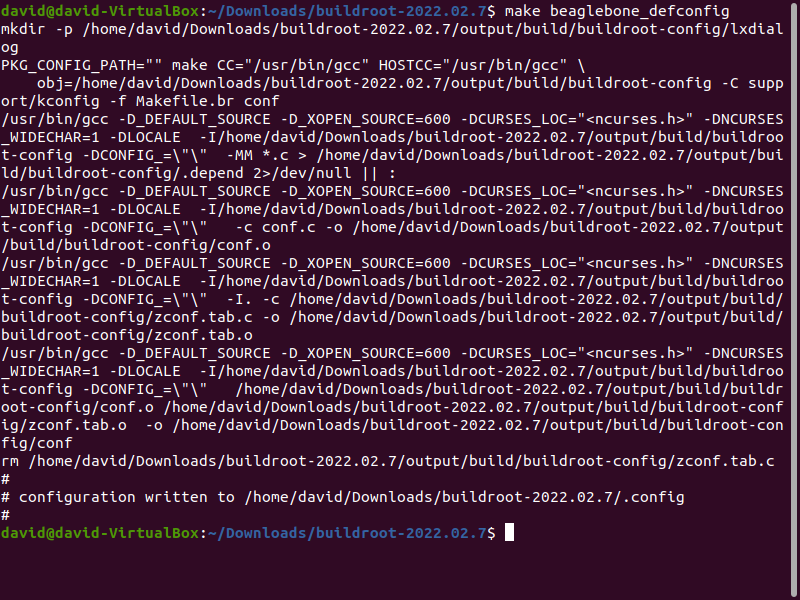
To select the default configuration for the target board (in this case, beaglebone),
perform the following command.
This code sets the .config file, as shown below.
After this, we need to go to the Buildroot menu configuration GUI in order to make some configuration changes.
We go to the menu configuration GUI by typing in the following command below.
Running this command opens up the menu configuration.
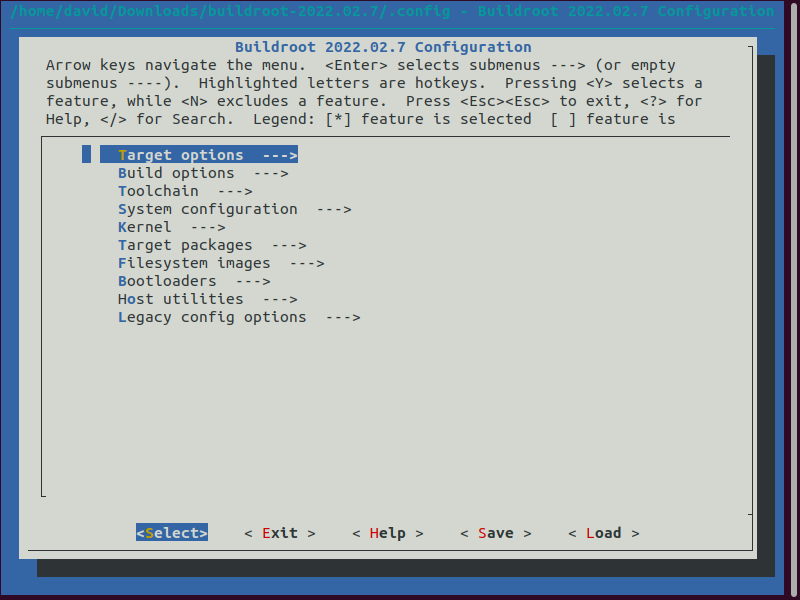
The first thing we must configure is the toolchain.
If you don't have a toolchain installed on your linux system such as Linaro, then you can keep the settings as is, and Buildroot will download a toolchain to your computer. However, if you already have a toolchain installed on your linux system, then you wouldn't want another one downloaded. In that case, you simply want to tell Buildroot that you have a toolchain and where it's located.
If you want to know how to install a toolchain on your linux system, see How to Install an ARM Cross-Compilation ToolChain on a Ubuntu Linux Operating System
So, taking the stance that we already have a cross-compilation toolchain on our system, let us make the necessary configuration changes within the menu configuration.
So now scroll down to toolchain.
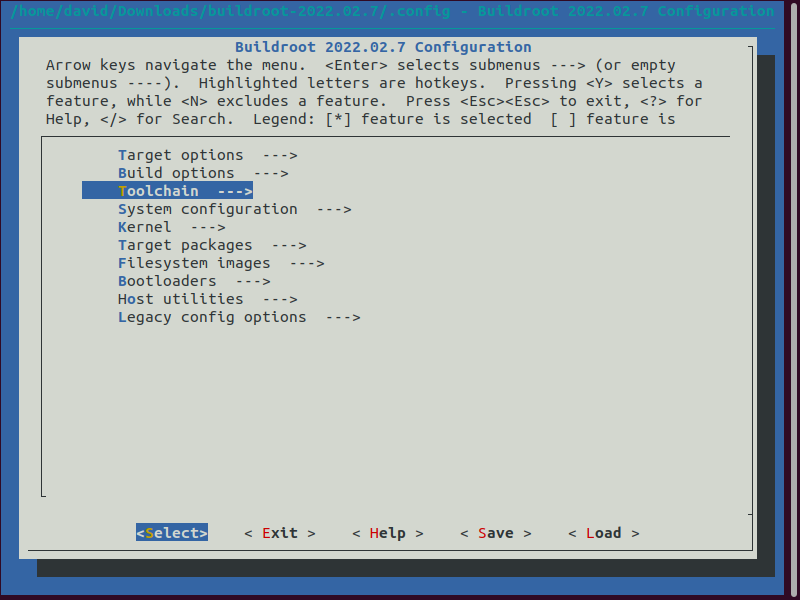
Select this toolchain option.
This will bring you to the following page.
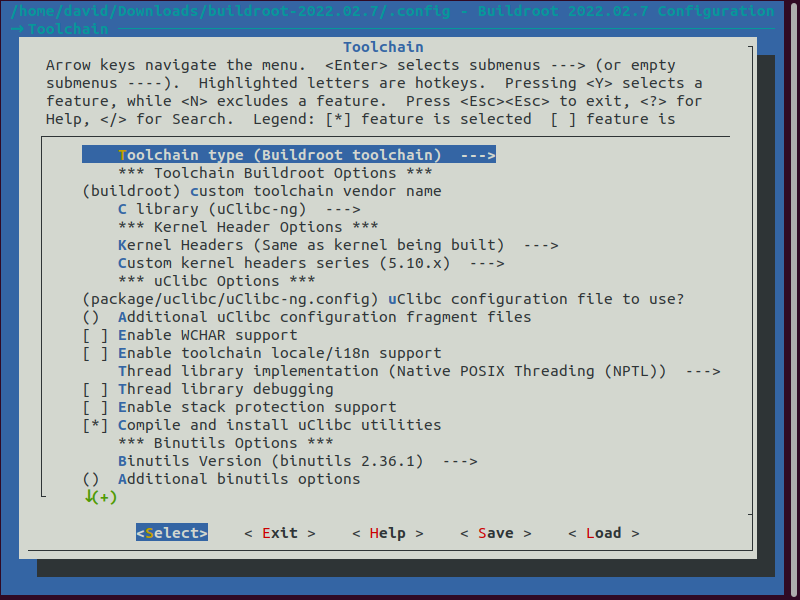
Select the Toolchain type (Buildroot toolchain) option, which you see highlighted in blue above.
This brings you to the Toolchain type window.
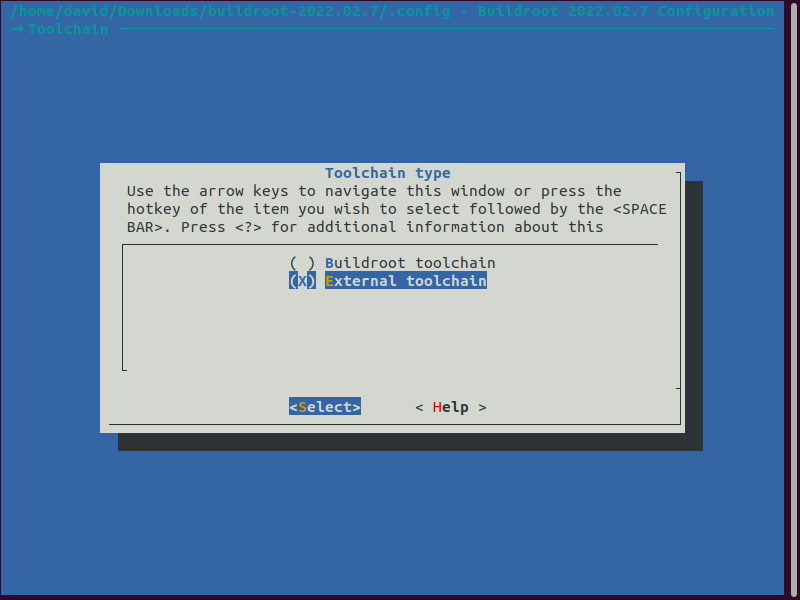
Select the option of an External toolchain, as you see selected above. This means again that Buildroot won't get its own toolchain. Instead, it will use one of our own external toolchains downloaded independently of Buildroot.
The next thing we must do is specify the path to the toolchain.
So the path to the toolchain on my linux computer is, /home/david/Downloads/gcc-linaro-7.5.0-2019.12-x86_64_arm-linux-gnueabihf
So you would specify this in the path.
Later, buildroot will add to this path, /bin/arm-linux-gcc
So make sure that your compiler in the bin directory is named arm-linux-gcc
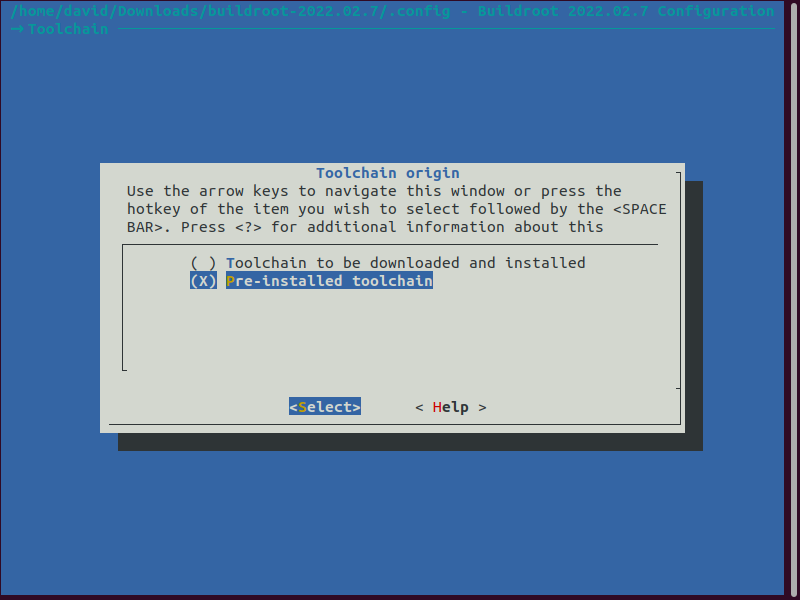
Next, make sure that in Toolchain origin that you select, Pre-installed toolchain
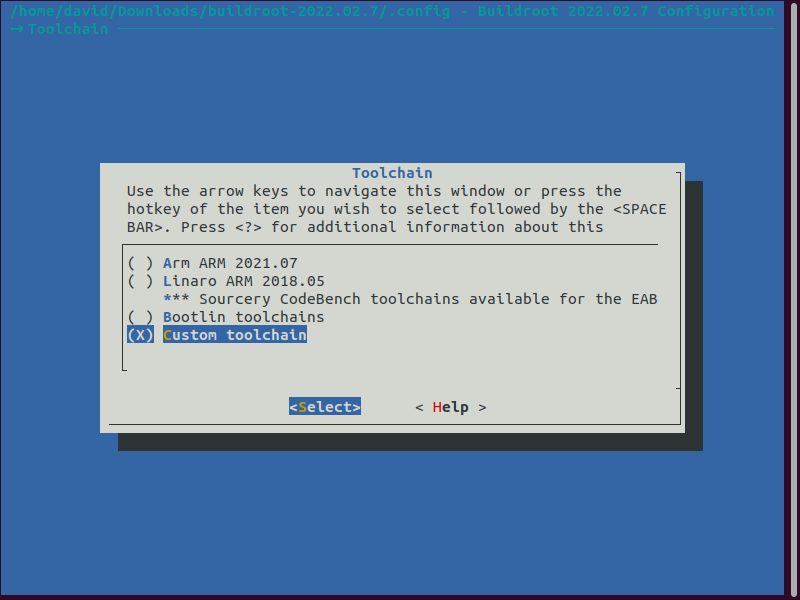
After this, just make sure that Custom toolchain is selected.
So we did all the necessary toolchain configurations. Just make sure that you save them.
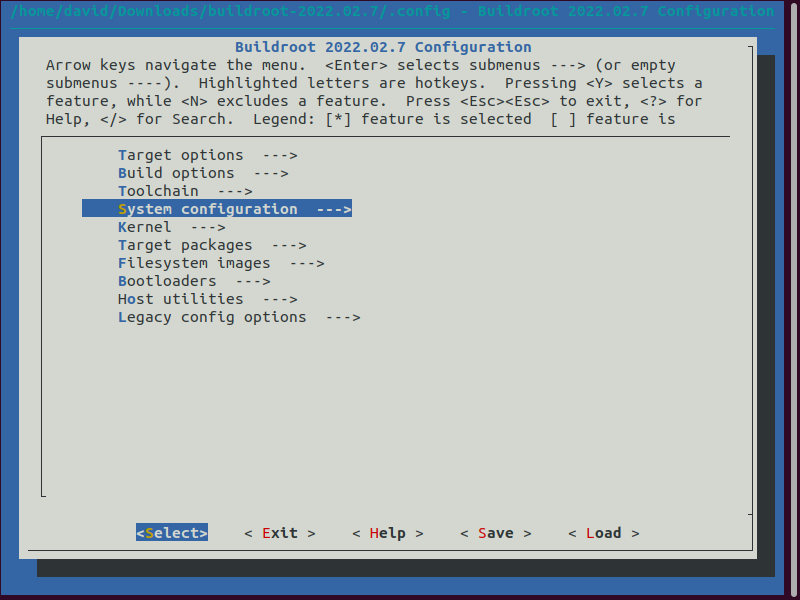
There's still a number of other general configurations that we must set.
So next, we go to System configuration.
Changing the system hostname to the name of your linux computer is advisable.

Next, under Enable root login with password, click on Root password and
set the root password to whatever password you want. In my
case, I simply set it to "root".

After this, go to to Run a getty (login prompt) after boot.
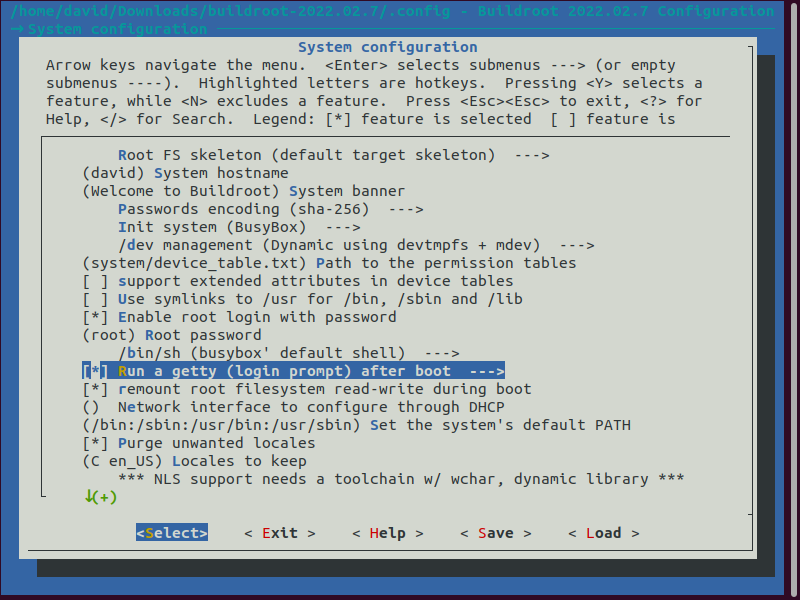
Once you select this, you should come to the following page.
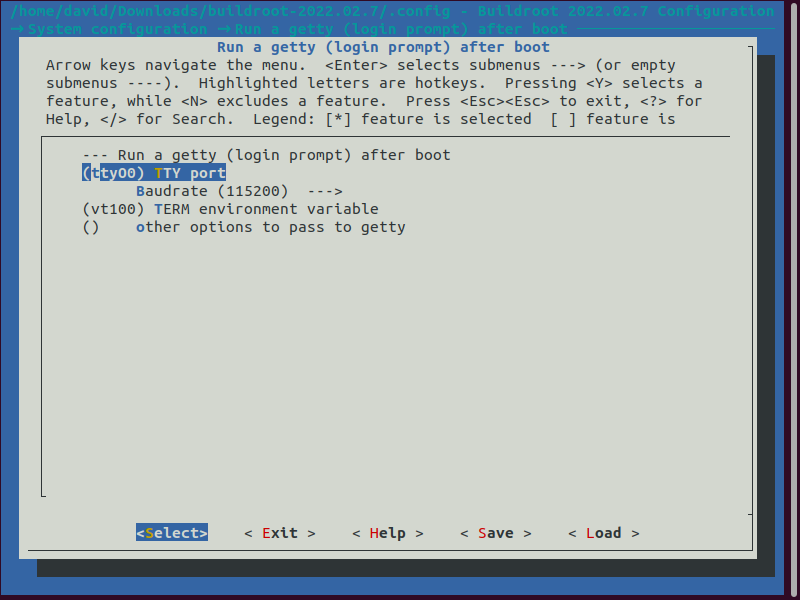
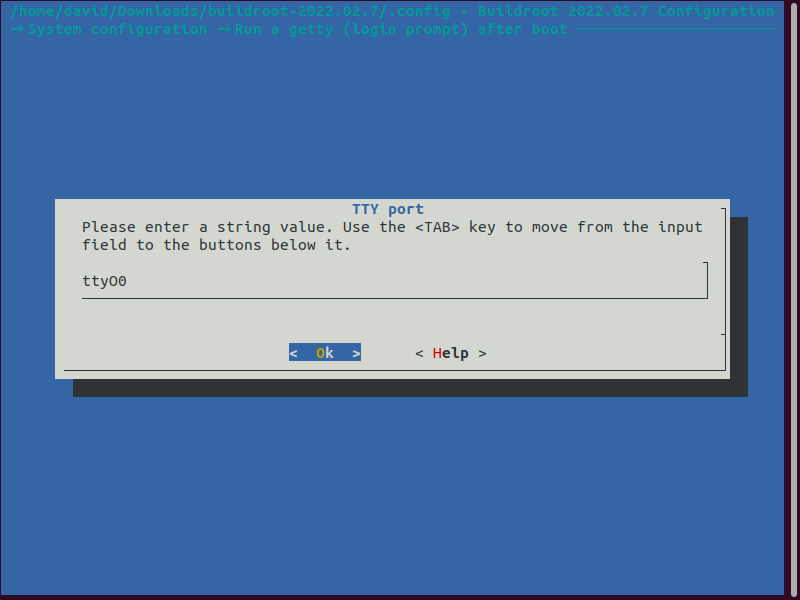
The first setting we change is the TTY port. For beaglebone boards, this port will
be ttyO0.
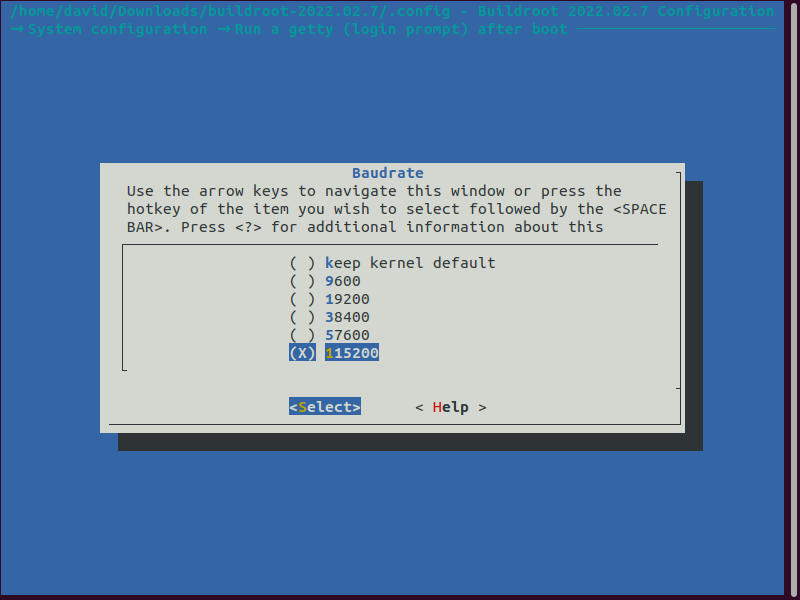
Then, we change the baudrate. For beaglebone boards, the baudrate is 115200.
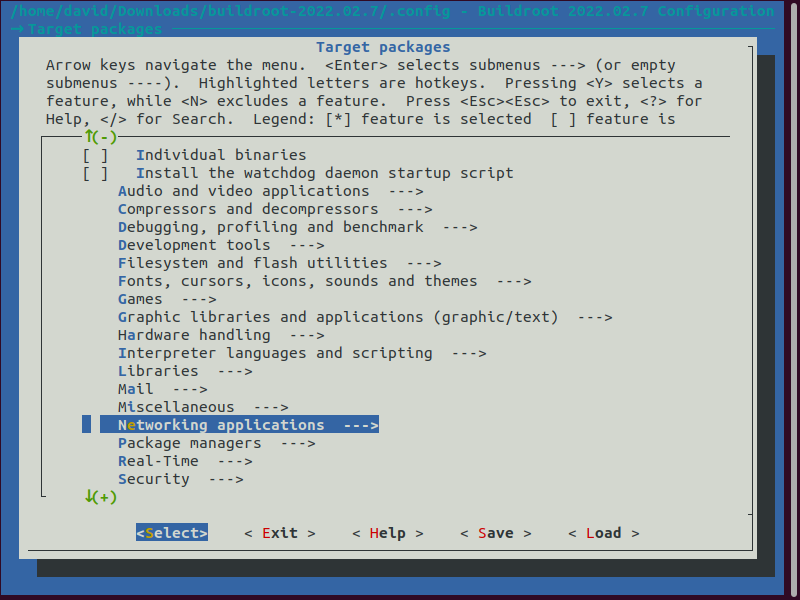
Also, through the Target packages option, you can add networking capabilities such
as openssh. This, though, is optional, and your application may not require it. The rest of the
configurations are more necessary.
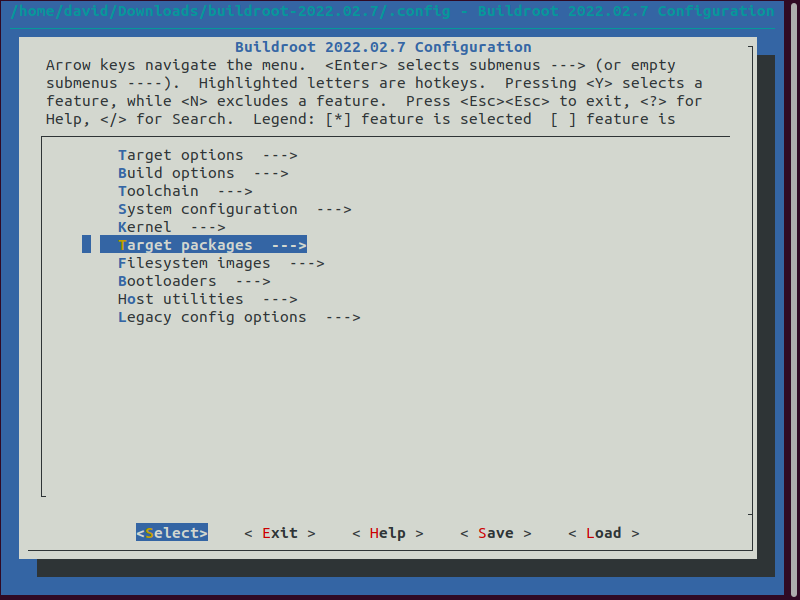
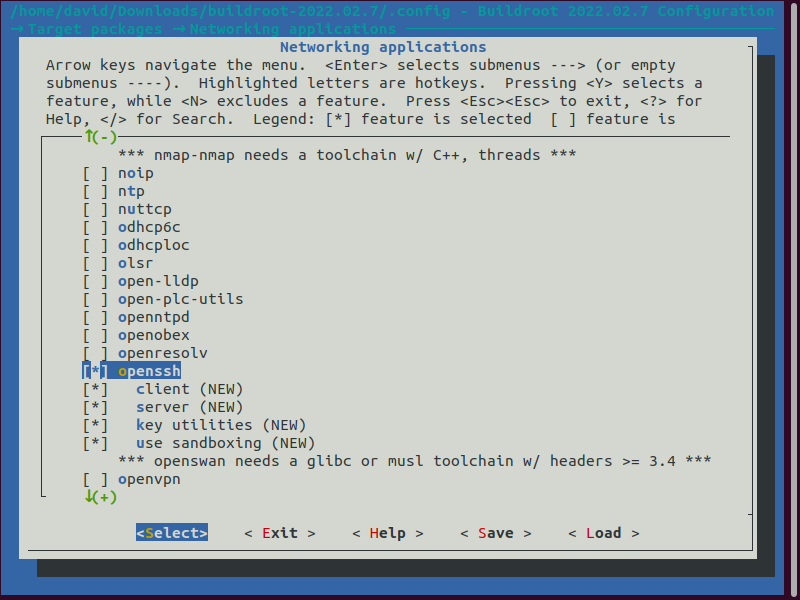
You would then go to Networking applications.
You then would select openssh.
So this concludes the general configuration changes.
Next, we go directly into the buildroot generated embedded linux software.
We can determine what softwares are generated through this same menu configuration GUI.
If you already have a kernel image (zImage file and you don't need one), then go to the
Kernel and select it.
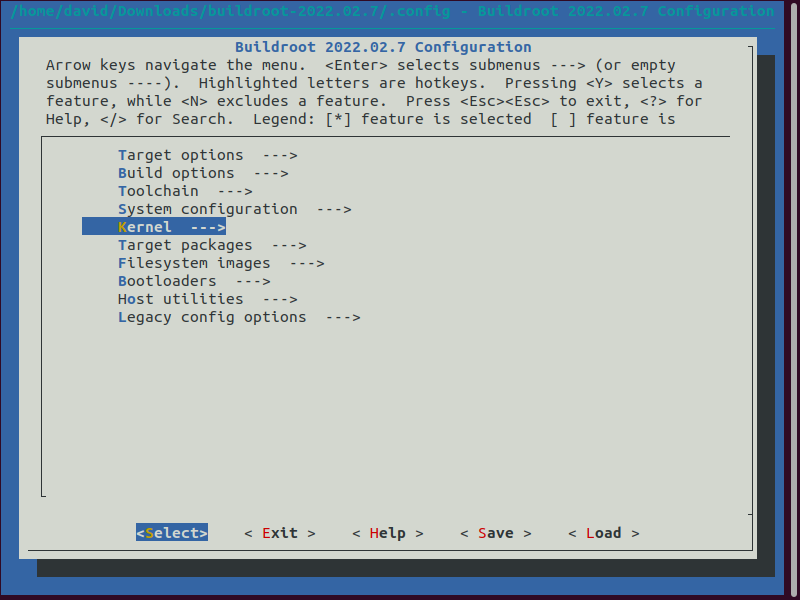
If you don't want any linux kernel to be generated, then go to Linux kernel and
unselect it. This is shown below.
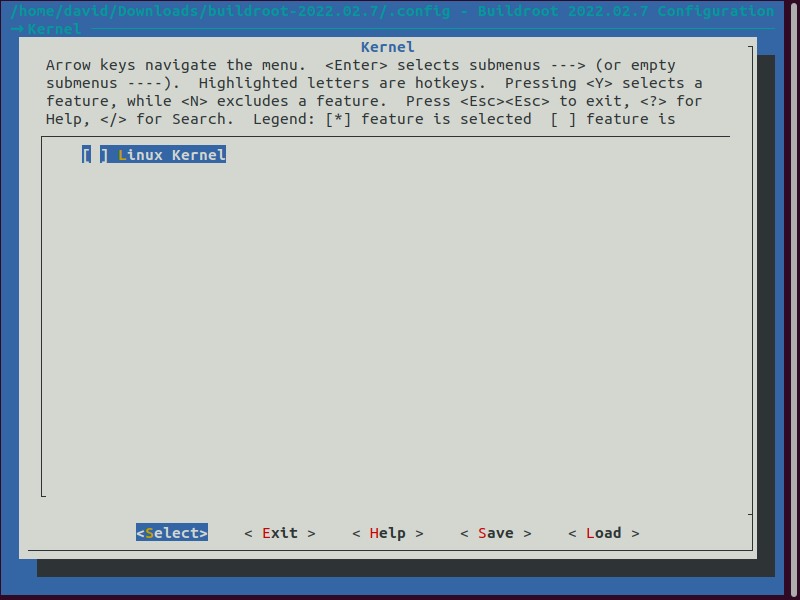
Now there will be no zImage created because we've unselected the linux kernel. This is advantageous if you don't need it, because it saves a lot of time.
We can do the same for U-boot related files.
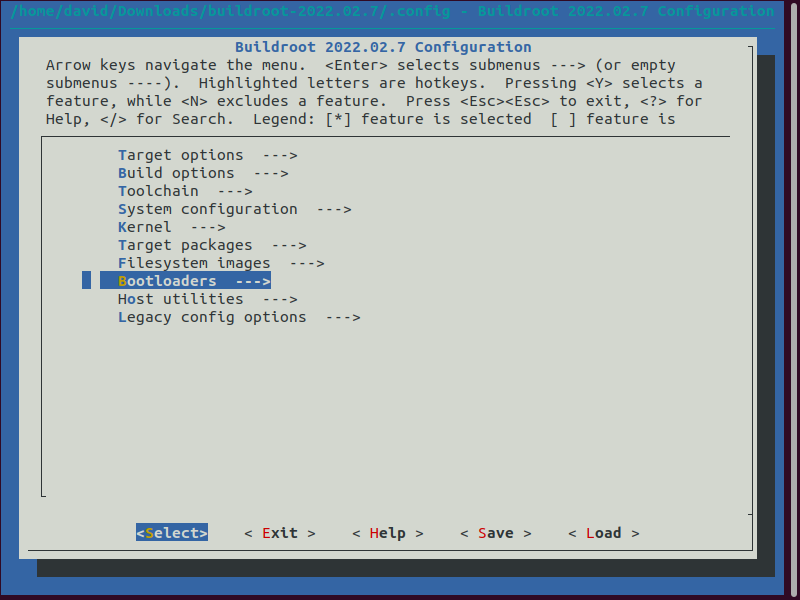
By going to Bootloaders, we can choose for Buildroot not to create any u-boot files
such as u-boot.img. This is shown below.
Go to U-Boot and unselect it.
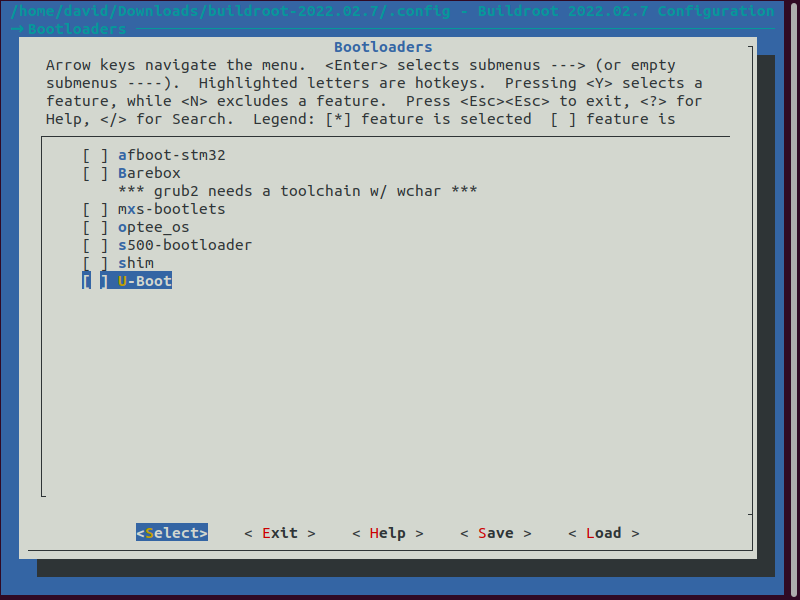
Now no u-boot files will be created by Buildroot.
This way, only the root file system will be created.
So save the configuration changes and go back to the terminal.
Now the last command we must execute is that shown below .
This will execute the software. However, if your computer has multiple cores, to make it
go faster, you can specify the number of cores. If we are using a 4-core computer system, then
you would specify, -j4.
After this is done, the root file system for an embedded linux system will be created.
When completed, you will get an output at the end such as that shown below.

Don't worry about those errors that you see. Because we didn't create any other files like the MLO is the reason why those errors are showing.
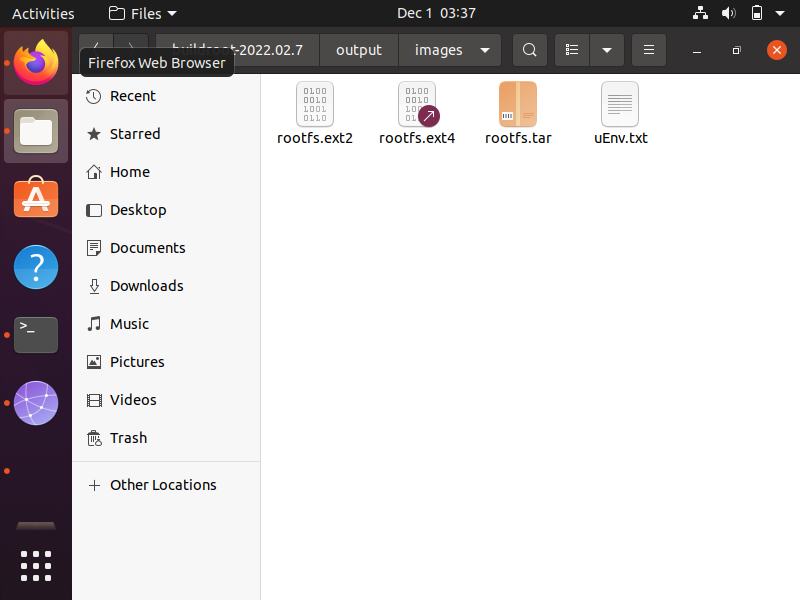
Now if we go to the buildroot directory and go to the images directory within the
output
directory, you should see all of the root file system files. This is shown below.
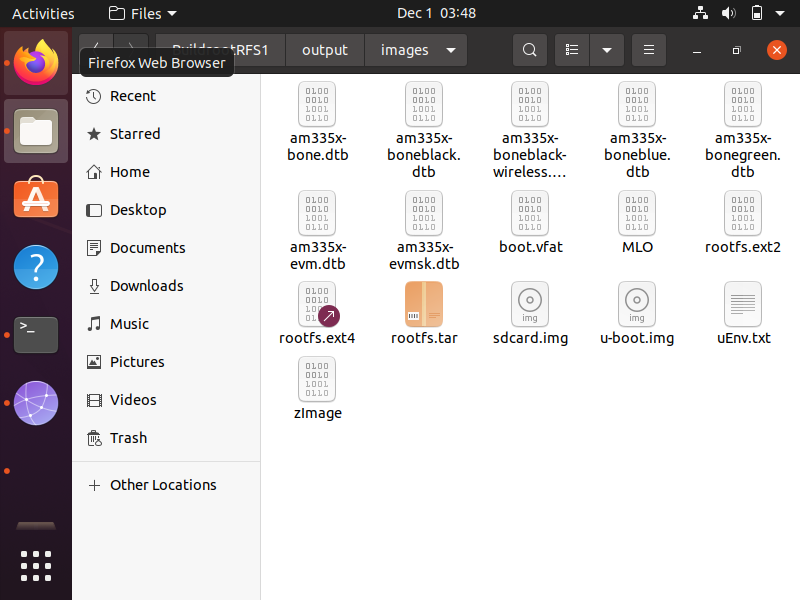
Now if you were to go back to the menu configuration and select for a linux kernel to be created and for u-boot files to be created, you would see more files within this images directory.
In fact, I have done this, and this is what you would see within this directory.
So this goes to show you how to create a root file system for an embedded linux
using buildroot. You can also create many other files such as u-boot files, the linux kernel,
the second stage bootloader, etc.
Related Resources