
How to Flash a New Boot Image to the eMMC of a Beaglebone Black Board
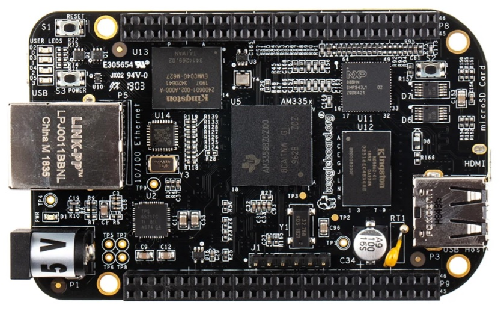
So a beaglebone board is an embedded microcontroller which can run the Linux operating system.
When you buy this board, the manufacturer will have an operating system already installed on it.
This operating system has been what is termed flashed onto the eMMC (electronic MultiMediaCard) of the board. Flashing is the process of permanently writing the boot image (of the OS) to the eMMC. This boot image will then remain on the eMMC until it is written over by another flashing process. Thus, it's permanent memory.
When you buy a beaglebone board, a particular distribution of an OS has been flashed onto the eMMC by the manufacturer.
You may or may not want this OS distribution on the eMMC.
That's fine because you can then flash it over and replace it with another OS distribution.
So that is what we go over in this article.
In order to flash the eMMC, you first have to write the boot image to a certain medium, one of the most common being an SD card.
So you first write the boot image to the SD card. You then place the SD card into the SD card slot of the board and can write the boot image to the eMMC this way.
So what you must do is start up the serial communication via a program such as Tera Term or putty. Then log in.
Before we go further, let's go to the beaglebone website and look at the latest images page.
Below is the content of the page, which helps us understand how we can flash the eMMC memory of the beaglebone board.
After this, you must go into the eMMC folder within the linux operating system.
Within this folder, we list out all of its contents, which is shown below.
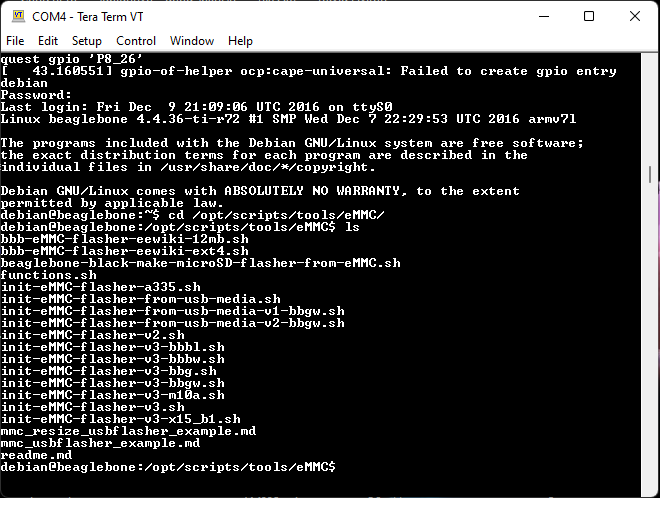
The file that is of interest in order to flash the eMMC memory on our board is the file, init-eMMC-flasher-v3.sh
We need to run this file and then we can start flashing our eMMC on our board.
First, make sure you're in the eMMC folder.
From the eMMC folder, type in the following, ./init-eMMC-flasher-v3.sh
This is shown below.
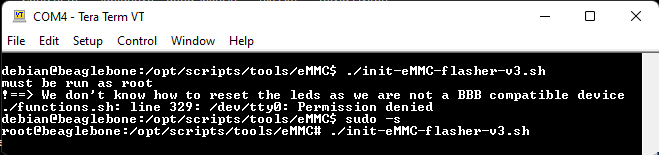
Once this is entered in, you should see the program begin the flashing process.
It will say at the top, Starting eMMC Flasher from microSD media. This is shown below.
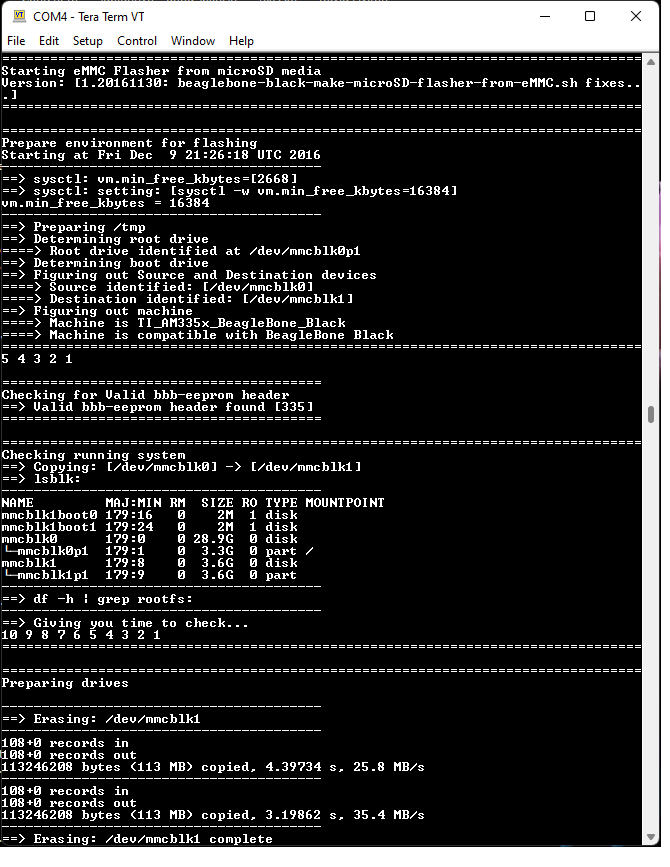
Now you just have to give the program time to flash the eMMC memory of the beaglebone board. It takes several minutes to complete, so make sure to give it about 10-20 minutes.
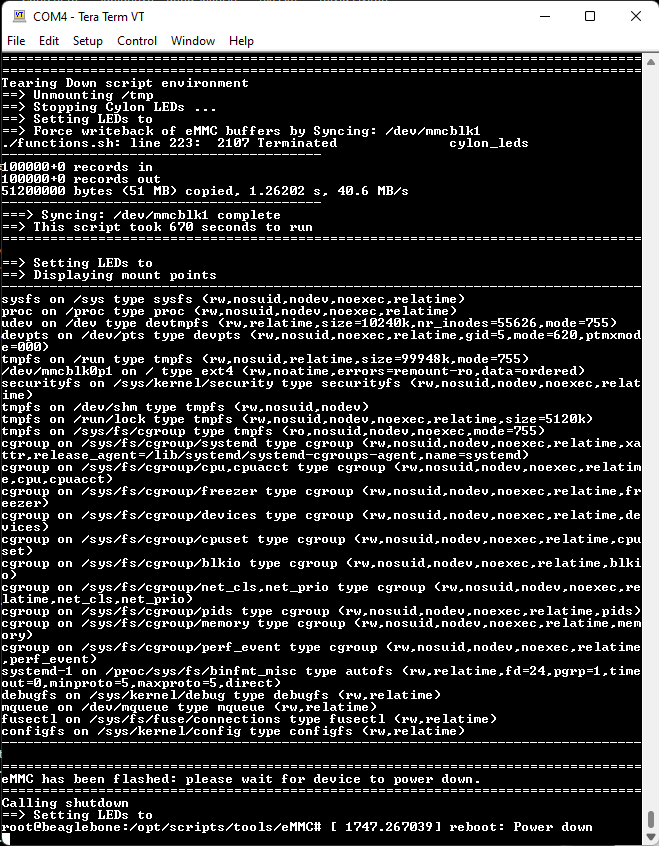
After this, you will know it has completed when you get the message, eMMC has been flahsed: please wait for the device to power down
The beaglebone board will then shut off.
This is shown below.
Once this is the case, you can take out the SD card before powering on the board again.
When you boot up the board, you should see the new linux distribution show.
This means that the flashing has been a complete success and this OS distribution is now
the OS distribution that is flashed on your board.
And this is how to flash a new boot image to the eMMC memory of a beaglebone black board.
Related Resources