
How to Generate Your Own Custom Linux Kernel Image for a Microprocessor Device
In this article, we will show how to generate your own custom linux kernel image file for a microprocessor device such as a beaglebone board or a raspberry pi board.
This can then be used to boot a linux kernel, alongside with a root file system.
Creating a custom linux kernel image is a great know-how to have, as you can do things such as significantly reduce the file size of the image file, if there are memory restraints in your system. This can be done easily by deleting any extraneous files that aren't necessary to your board and only keeping those that pertain to your board.
Apart from saving memory, you can also customize a great deal of the image file, including having custom messages and other aspects.
Thus, in this article, we will go through how this can be done with minimal software.
So the first step in the process is getting the linux kernel source code.
This is the code you will work with originally.
You can then modify this code to your needs and/or preferences.
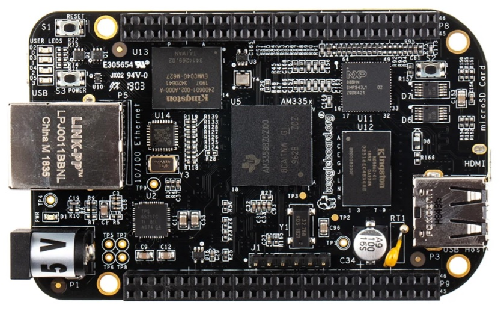
In this article, we will work with the BeagleBone black board. However, this can easily be translated over to any type of board, as all you need to get the official linux kernel source code.
The code originates with the BeagleBone foundation and they have their own official github page.
So there are 2 ways of getting this code.
You can either download it to your linux OS or you can go to the terminal and use git and clone the source code to your linux OS. Both achieve the same thing, though the git cloning does take a longer time, due to download speeds.
If you are going to download it directly to your computer, the official github page of the BeagleBone foundation is
If you are going to use git, make sure that you have git first installed on your linux OS.
git can be obtained through the following code below.
This is shown in the image below.
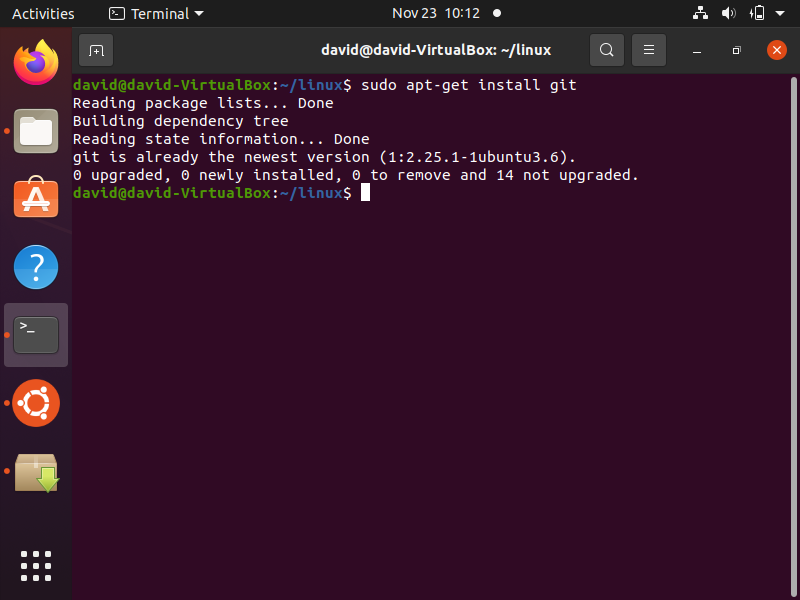
Once git is successfully installed, then we can clone the linux kernel source code.
Before doing that, though, there is one more package that must be installed in order to generate a custom linux kernel image, and that is installing the libssl-dev package.
This is done through the following code shown below.
After running this code, you should see its successful installation.
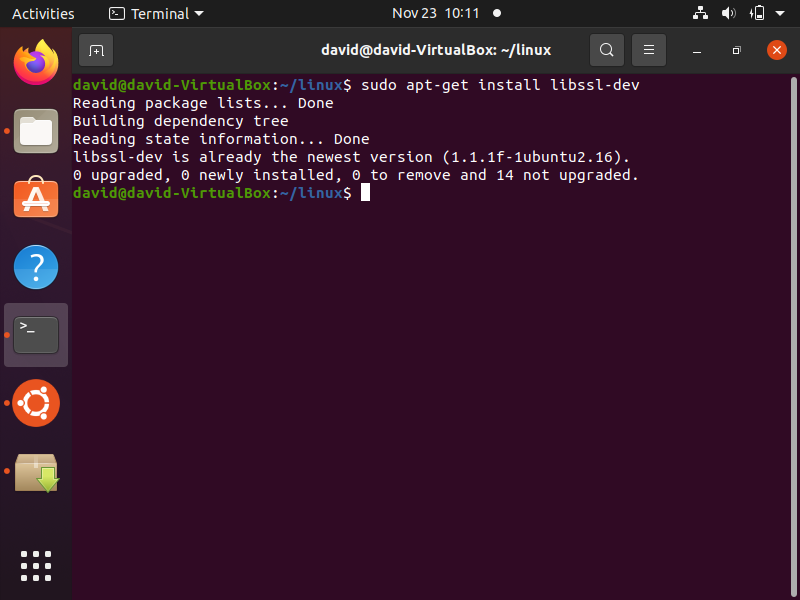
Now that we have these installed, those are all the packages we need to successfully generate custom linux kernel images.
So the first thing we will do now is clone the linux kernel source code using git.
This is done by the following code shown below.
This takes several minutes to complete but once it's completed, you should
get similar output to that shown below.
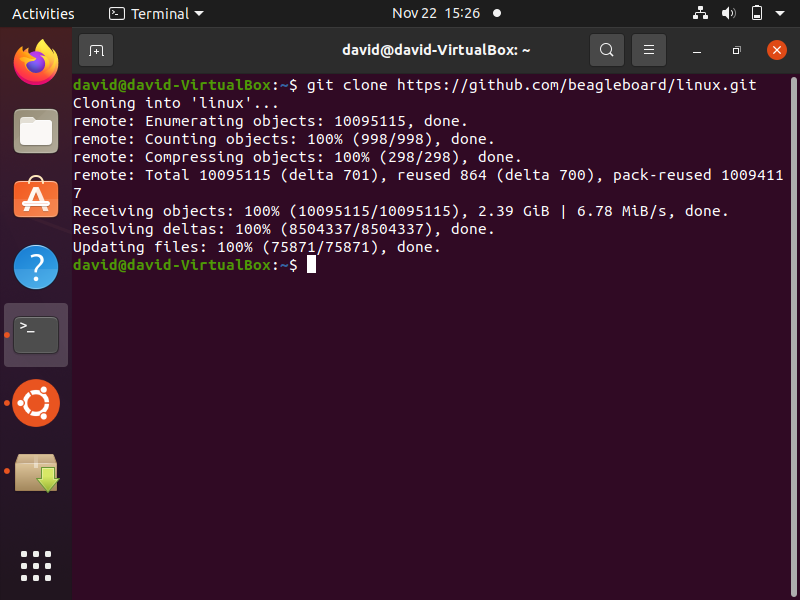
Now this linux source code will all appear in one directory named 'linux'.
It will appear in the same folder you were located in when you ran the git command to clone it.
Since I was in the home directory, it downloaded into this directory.
The contents of this 'linux' directory is shown below in the terminal.
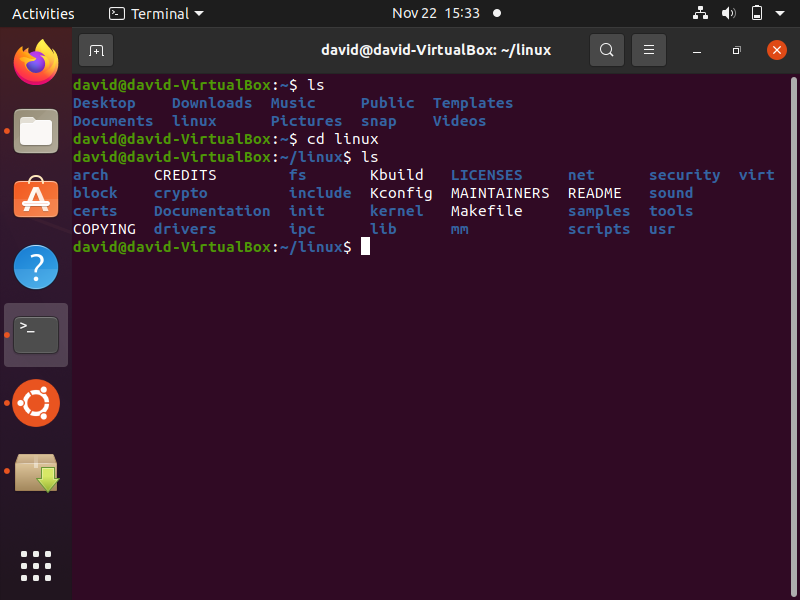
You can see there are several directories that make up the linux kernel source code.
Below we show the downloaded linux directory in the computer system.
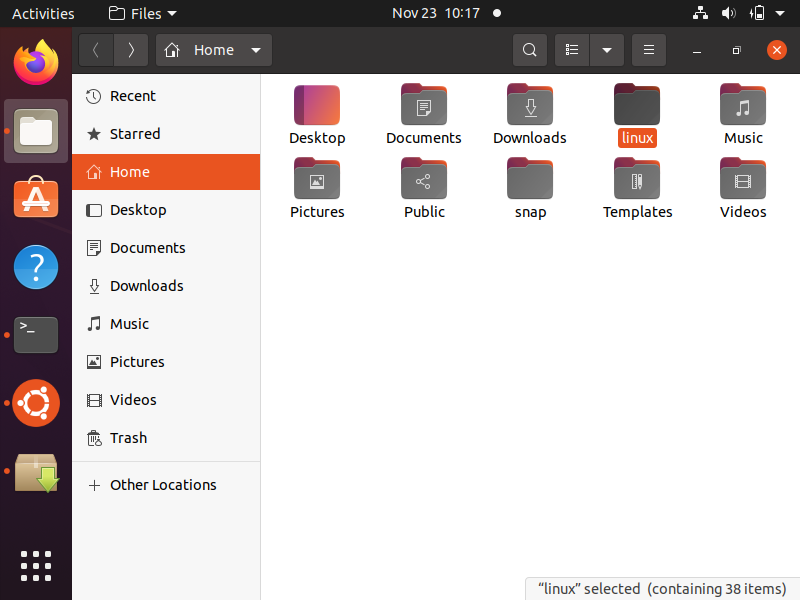
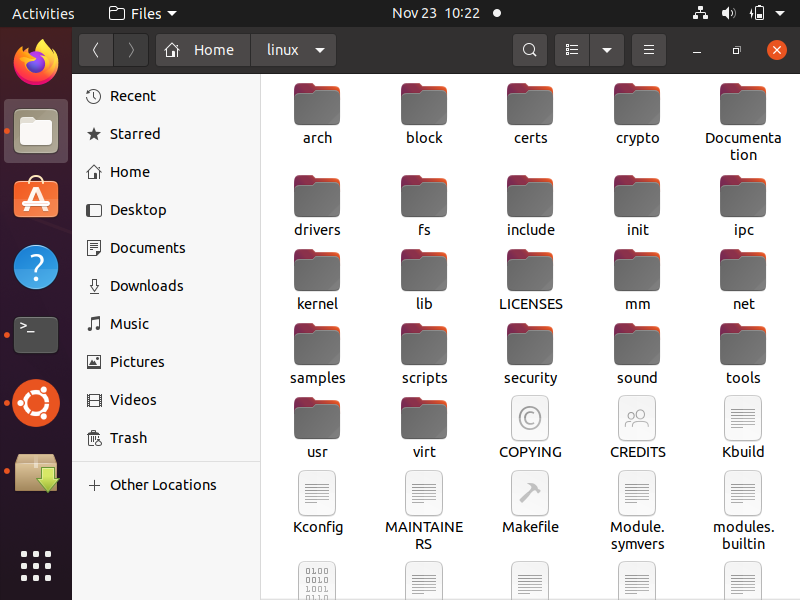
When you click on this directory, you can see its content shown below.
Ok, so now that you have the directory downloaded, you can cd into this directory in the linux terminal.
The first step is performing a distclean of the linux source code, which is done
through the following code below.
This erases any previously generated files from a previous generation of a linux kernel image (if any exists). So it the source code a clean slate for a new linux kernel image.
The next thing that we have to do is apply the configuration to the omap2plus_defconfig file.
We don't actually change any configurations with this file, but you can. You can always set the configuration and then later change it.
How we set the configuration of this defconfig file is shown below.
When this is run, you should get similar output such as that
shown below.
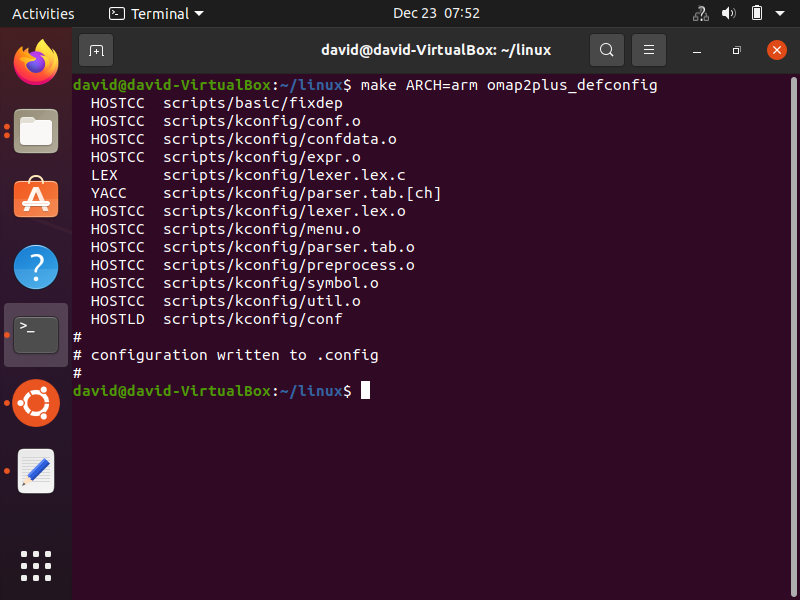
If the configuration is successful, you will get a message stating that configuration has been written to .config.
If you want to see the contents of this .config file, then you can
enter in the following code shown below.
Running this command gives you the configuration, as can be seen below.
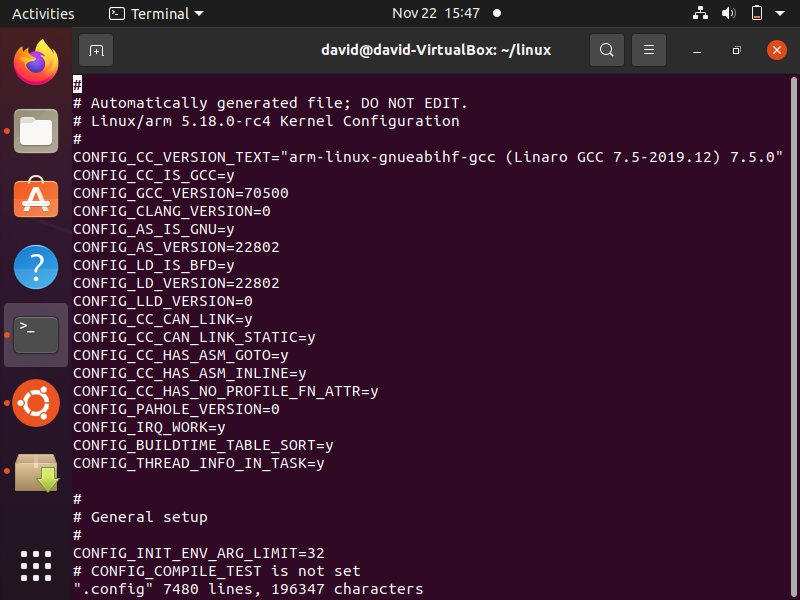
So you can scroll through this configuration file and view the configurations.
However, do not edit this file. The way to edit the configuration is through the menuconfig, which
can be accessed below.
Before you run the meuconfig above, just make sure that your screen is in full screen mode if you are using a virtual operating system.
After you run this command, you should see output similar to that
shown below.
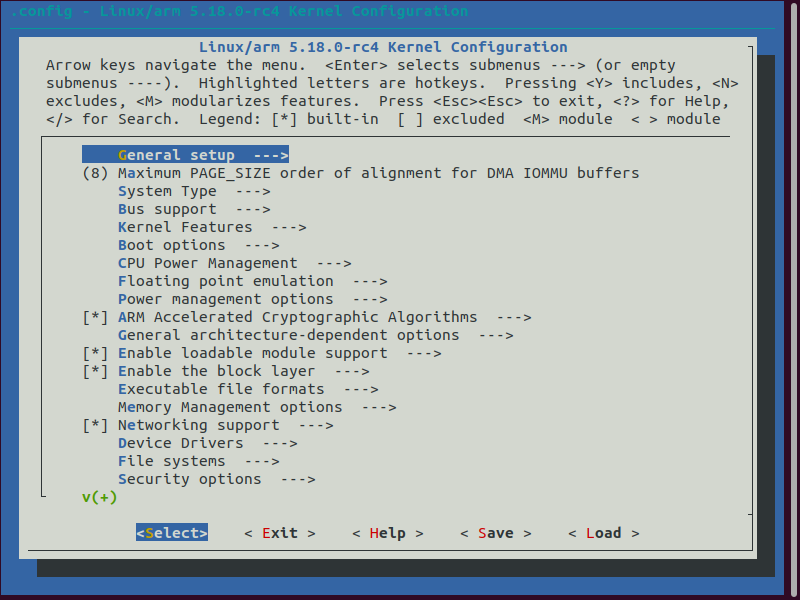
Using this Kernel menu configuration, this is where you would make changes if you wanted to. These changes would then be reflected in the .config file.
So next we're going to create the zImage and uImage that will represent the linux kernel image.
This is done through the following code shown below.
It's important to specify that the type of file is a uImage. If this is not specified, then just a zImage will be created. uImage, obviously, are easier to work with in terms of with software such as U-boot.
The dtbs generates the build to generate the device tree binary.
The LOADADDR is where the linux kernel will be loaded to and where U-boot will read the linux kernel from.
-j4 is the amount of cores your linux computer has. If your computer runs on 4 cores, then -j4 works. If 2 cores, then -j2 can be specified.
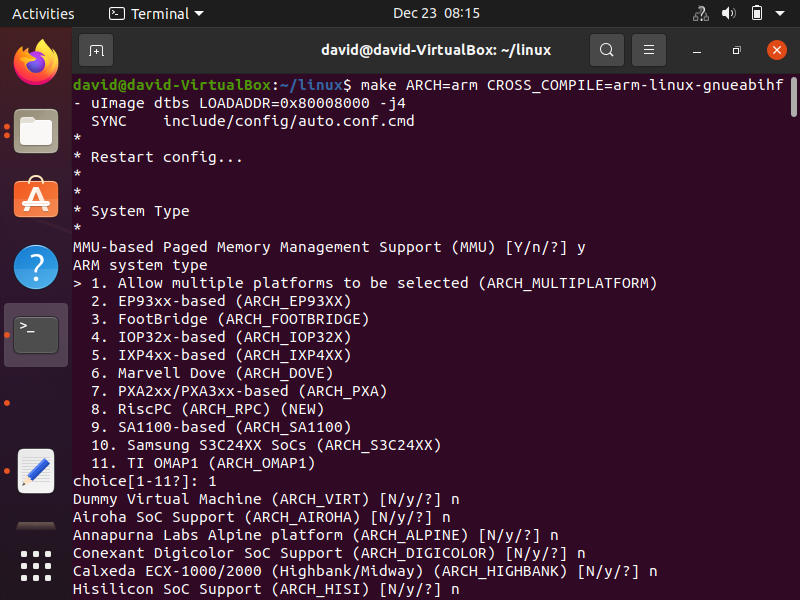
After running this command, the process of the generation of the
linux kernel image should commence, such as that shown below.
When this process has been completed, you will see that a zImage and a uImage have been created. These files represent the linux kernel image, which you can then use in an embedded linux system.
This is shown below.
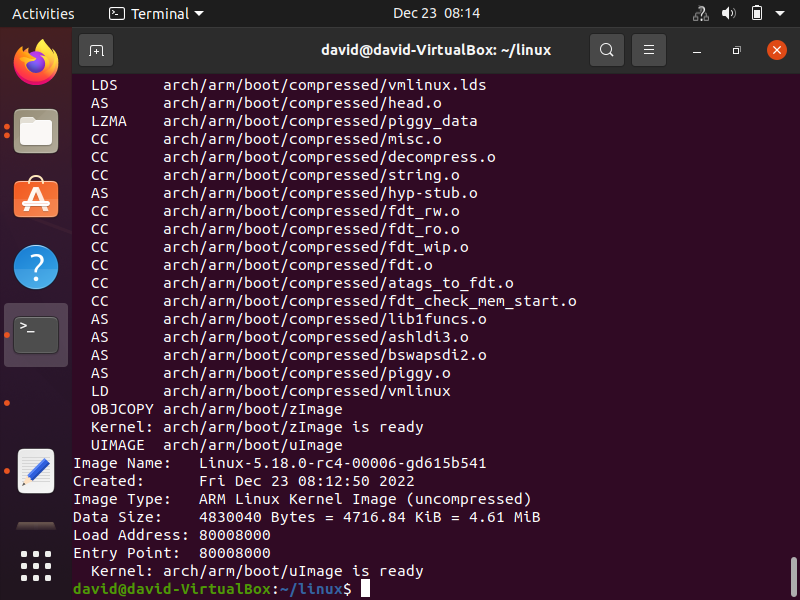
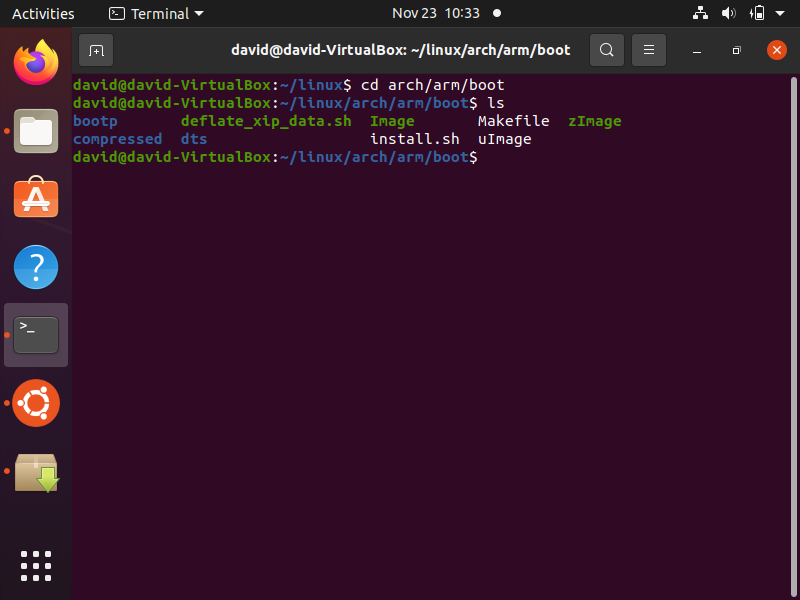
You can see that both a zImage and a uImage have been created during the process.
Both files are in the same folder located in arch/arm/boot/
A zImage is the raw linux kernel image.
A uImage is the raw linux kernel image with additional header inforamation that is more compatible and native to U-boot. If working with U-boot, it is advisable to work with uImage, as more code is necessary to boot a raw zImage.
If you cd into the arch/arm/boot/ directory, then you would see these
files in the terminal,
as shown below.
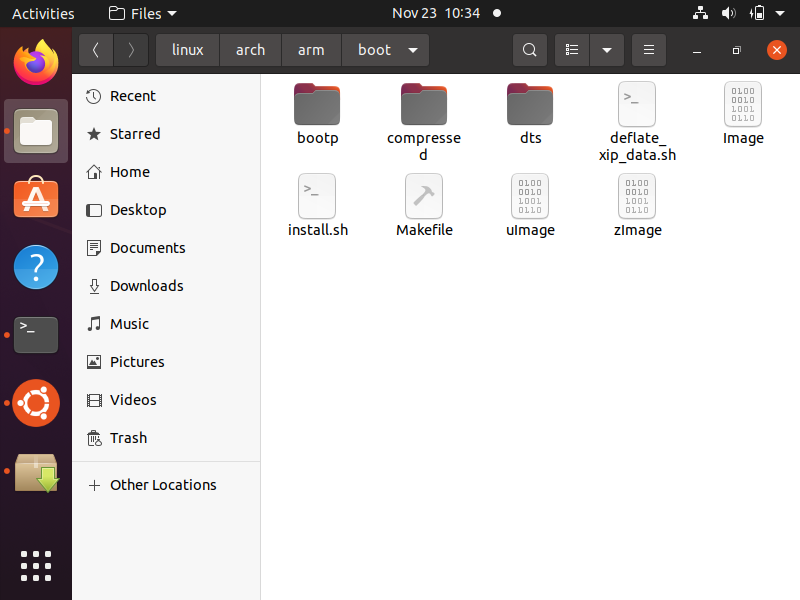
If you go to this directory in the file system of your computer, they
would appear as shown below.
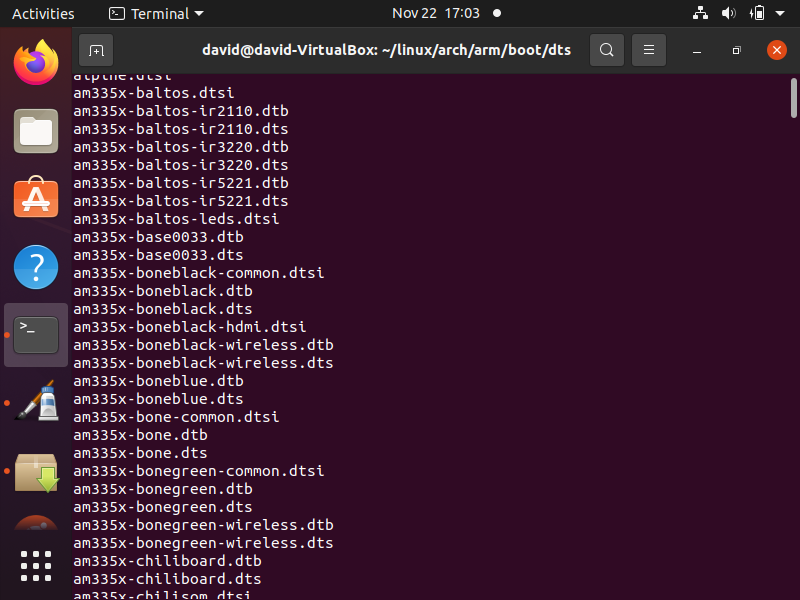
In this same folder is a directory named dts, which contains the device tree binaries for many different types of devices.
In this folder, you should be able to locate the device tree binary for your device.
The device tree binary for a BeagleBone black board can be seen below.
There is one last thing we need to do, as the process isn't yet entirely finished.
There is something in linux referred to as dynamically loadable kernel modules.
These are modules which are external to the linux kernel image (zImage or uImage), which later can be compiled and added to the root file system. The reason these modules are external to the linux kernel image is to decrease the file size (memory) of the linux kernel image, or otherwise the file size would be excessively large. zImage and uImage and later are dynamically compiled and added to the root file system, so that the linux operating system can have full functionality.
Many drivers are add-on dynamically loadable kernel modules to prevent the zImage and uImage from being excessively large.
When you are going through the menuconfig, components labeled with an 'M' are dynamically loadable kernel modules. The components labeled with a * are going to be included directly into the zImage and uImage.
So in order to compile the dynamically loadable kernel modules,
we use the following line of code shown below.
Again, run -j4 only if you have 4 cores on your computer. If not, change this number to the number of cores on your computer.
Once we run this code, the compilation should begin, as shown below.

This process takes several minutes to complete.
Once completed, when you have your root file system installed, you would run the following code below to install the modules on the operating system.
The code to do this is shown below.
So all you would have to do is specify the path to your root file system, which also can be a custom component created by you.
So this is how to generate a custom linux kernel image for a microcomputer device such as a BeagleBone board.
Related Resources