
How to Install Kali Linux Virtually on a Windows PC

Getting up and running with Kali linux is important if you want to work in the cybersecurity field, because it is used frequently for cybersecurity events such as penetration testing.
You don't need to go out and get a new computer to install this kali linux operating system.
There are virtual software for this very reason.
There is software such as the VirtualBox that we will use in this article to install kali linux.
So the first thing you will need to do is install VirtualBox on your windows PC.
VirtualBox can be found at the following at the following link: VirtualBox
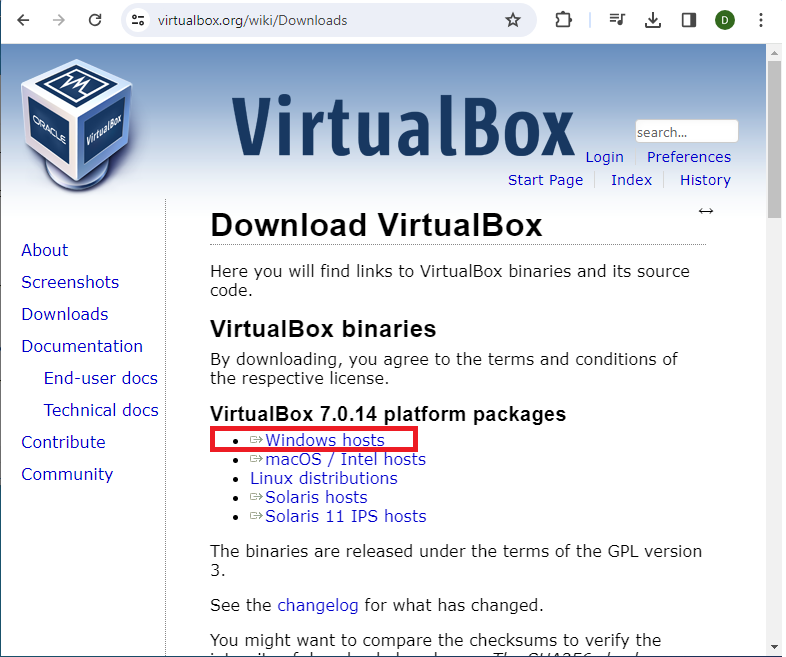
Go to the Downloads page of virtualbox, which can be found at the following link: https://www.virtualbox.org/wiki/Downloads
Below you can see the link that you must click on the downloads page of
virtualbox.org
Once this downloads, it produces an executable file (.exe), which you will need to run in order to install VirtualBox on your windows PC.
When you run the software, you should get the following GUI shown below.

So this is the first part of the installation.
Next, we need the kali linux software that will run on VirtualBox.
To get this, we go to the website for kali linux, which is https://www.kali.org/
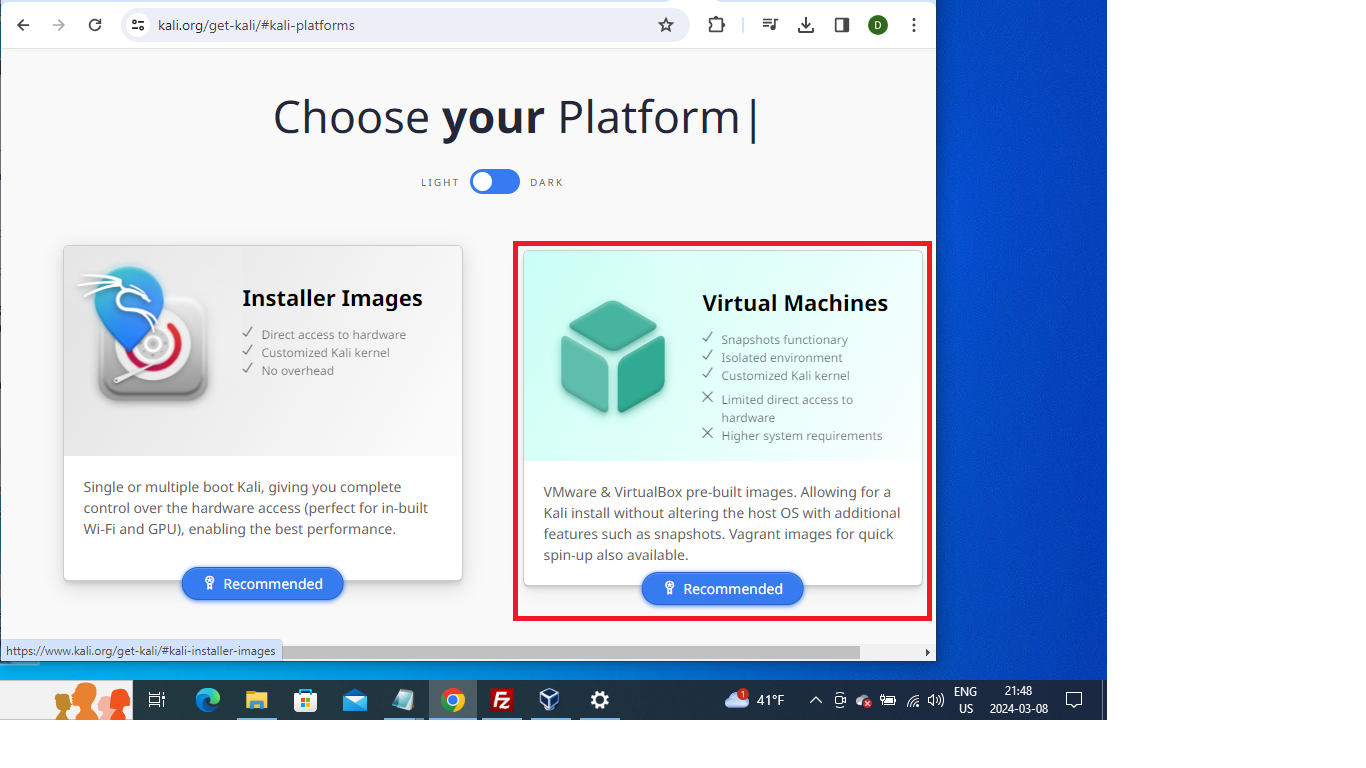
You need to go to the Downloads page of the website, which can be found at https://www.kali.org/get-kali/#kali-platforms
When you get to this screen, which you see below, you click on 'Virtual Machines',
since we are downloading this on a virtual software, VirtualBox.
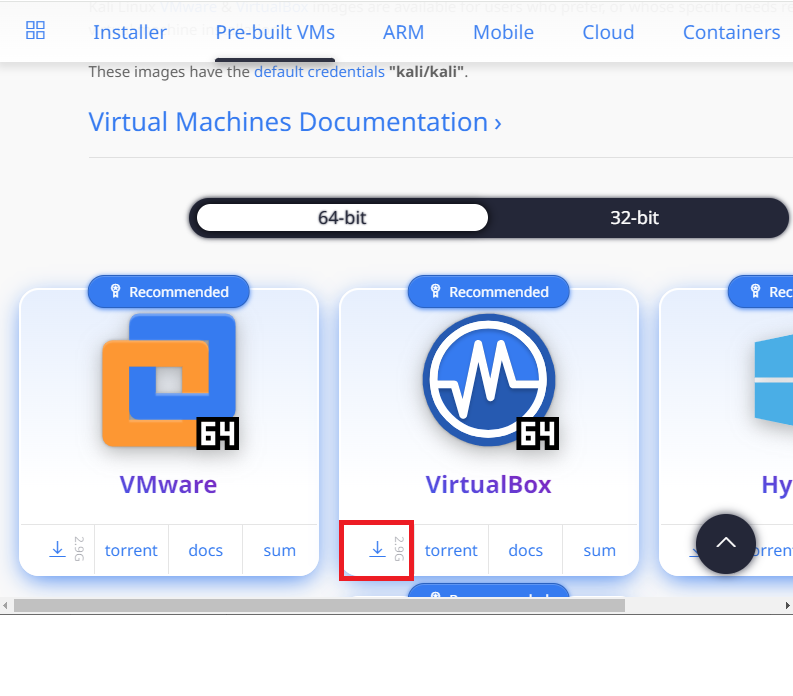
This brings you to a screen where you see Kali linux downloads for 4 virtual systems: VMware, VirtualBox, Hyper-V, and QEMU.
All of these can work to give you Kali linux on a windows PC.
Of course you can choose whichever one you want, but in this article, we simply demonstrate VirtualBox.
So we click on the download icon for VirtualBox, which is shown below.
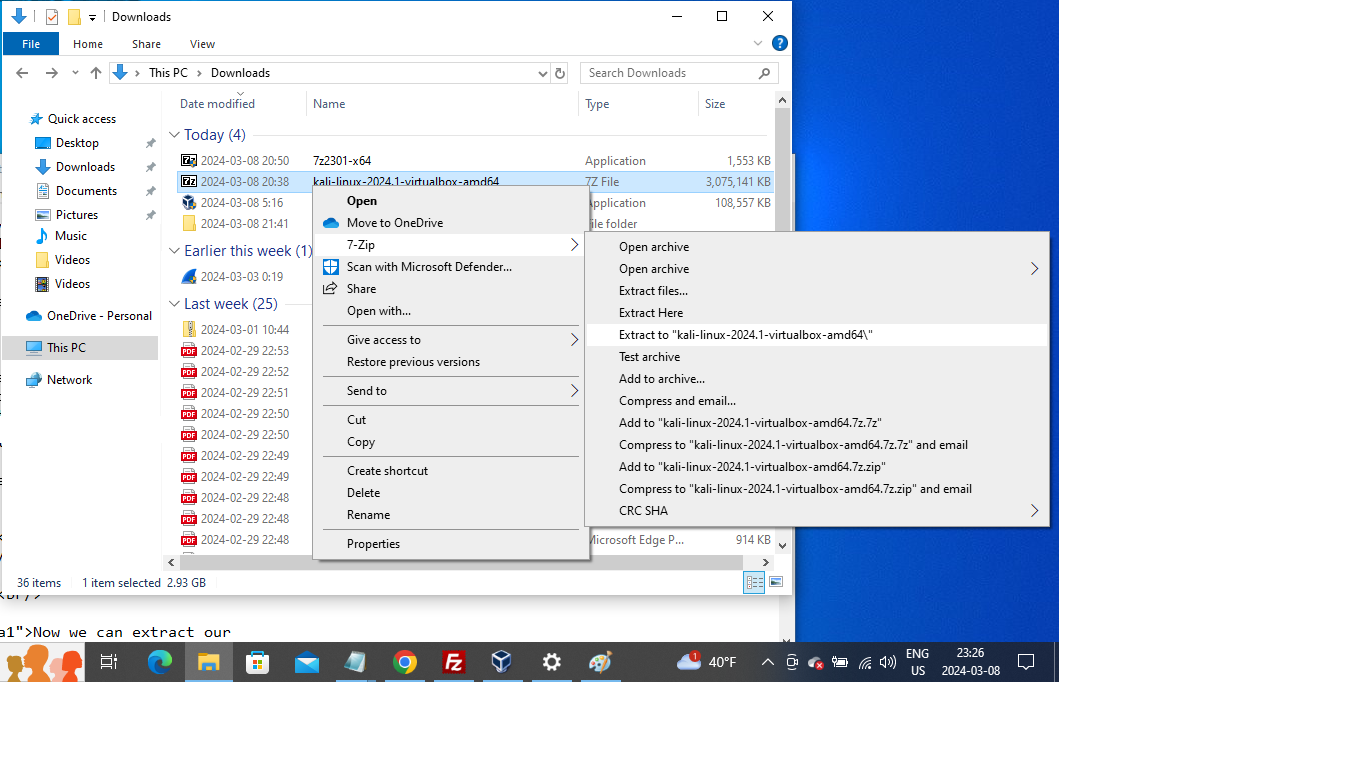
So after we download this file and look in our system, we see that this is a compressed
7z file.
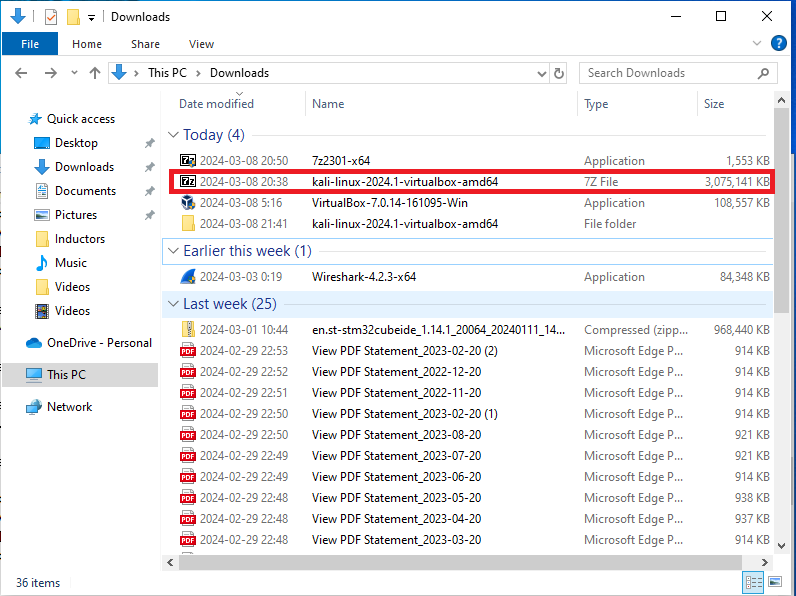
Since this is a 7z file, you need the 7z software, which can decompress this compressed file to get the individual file that you need to upload to VirtualBox to run the Kali linux operating system.
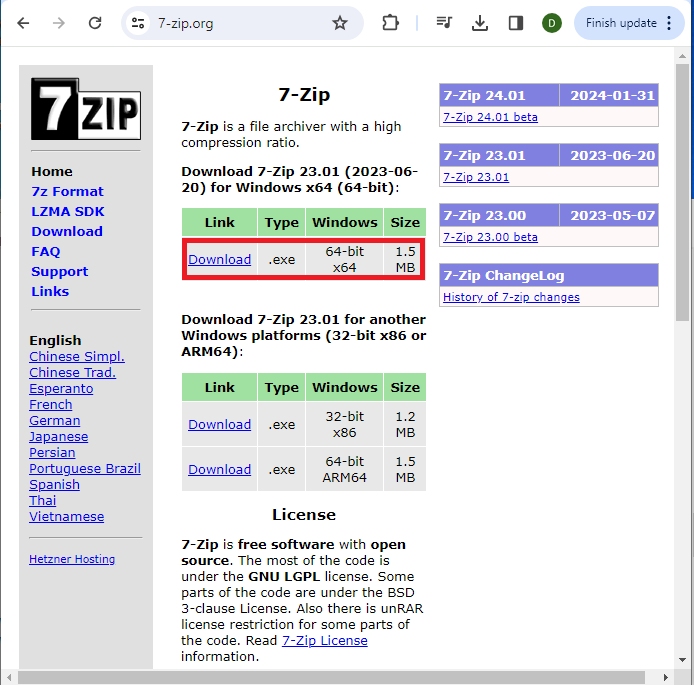
The 7z software, if not already installed on your PC, can be obtained at the company's official website shown here: https://www.7-zip.org/
You can download the windows x64 bit as shown below.
Now we can extract our files from the kali linux download we initially did. Personally, I prefer to extract all the files to its own folder, so that is what I did.
After this extraction into the folder, if you look inside the folder, you should see a single VirtualBox Machine Definition (.vbox) file.
This is the file that you need to upload to VirtualBox in order to install and run the kali linux software, which is what we do next.
So go back now to the VirtualBox software.
We click the 'Add' tab on the software.
Just click the .vbox file where you downloaded the Kali linux software.
After that, you should see a screen similar to that
shown below.
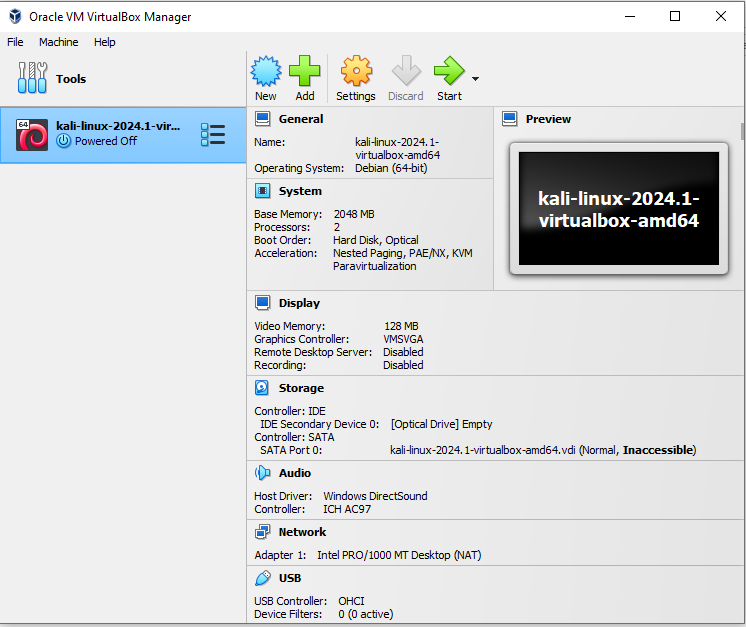
Next, we can just do a normal start.
Eventually you will get to the login page of the
kali linux operating system.
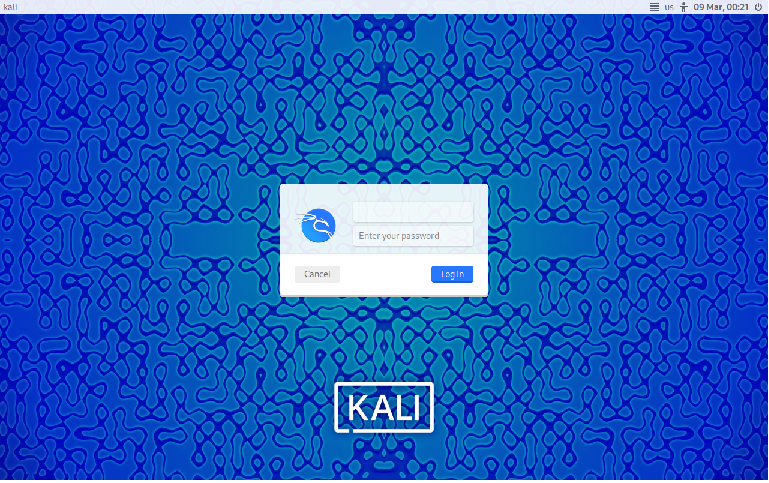
The default username is kali and the default password name is kali.
Once you are in, this is the home page of the kali
linux operating system.
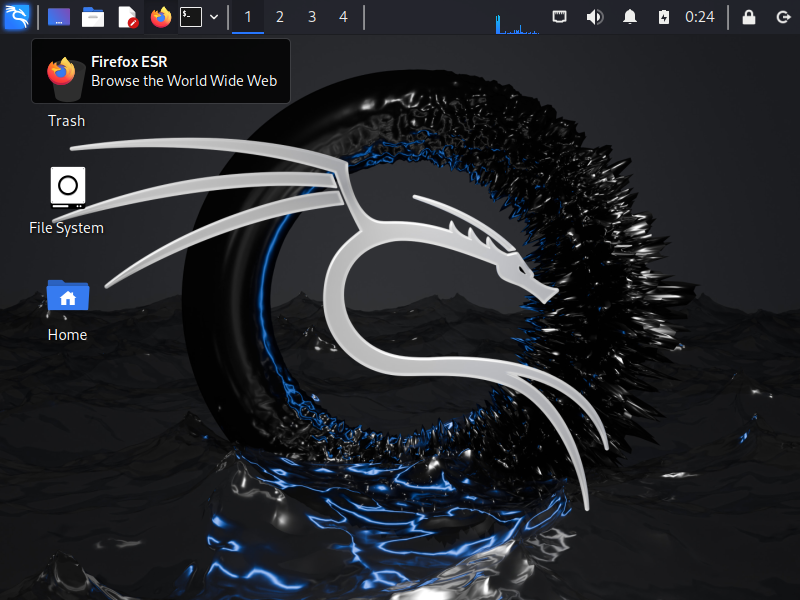
So congratulations. You have now successfully installed the kali linux
operating system and now can use it in a virtual setting.
Related Resources