
How to Install phpMyAdmin on an Apache Web Server in Linux

In this article, we show how to install phpMyAdmin on an apache web server on a linux machine.
So the apache web server is a type of server that is widely used on the web.
Apache powers over 50% of websites on the web.
It can run versatile scripting languages such as PHP, Perl, etc, as well as run MySQL as a database in the backend. Since MySQL can be configured on an Apache server, it makes sense that phpMyAdmin can be configured on the Apache server as well, in order to make it easier for website administrators to create and store databases.
So having phpMyAdmin installed on a web server makes life easier for the website administrator (or database administrator).
So how can we install phpMyAdmin on an apache server?
Well, the first thing you must do is install mysql-server.
mysql-server is installed on the apache server by the following
line shown below.
So this installs MySQL-server, which is the software that allows a website administrator to create and store databases.
During this process, you will be asked to create a password for the MySQL-server.
Once this is done, you can now install phpMyAdmin.
phpMyAdmin is installed by the following line shown below.
This installs phpMyAdmin on the apache server.
During this process, just like with mysql-server, you will be prompted to create a password for the user that you are currently logged in as (whether it's root or another user with sudo privileges). This is the password you will use to log in to phpMyAdmin. And I believe that you have to link it to the MySQL-server you created.
So once you have done this, there are two more steps you must to do to have this complete.
The first step is to go to the php.ini file and remove the semicolon before, extension=msql.so
Thefore, that line should be as follows.
For PHP 7.1, the php.ini file is located in the following path, /etc/php/7.1/apache2/php.ini
Then you can save and close that.
Then we must add one line to the apache2.conf file.
You must go to the apache2.conf file and
add the following line
to the file. You can add this as the very last line in the apache2.conf
file.
The apache2.conf file is located in the following path, /etc/apache2/apache2.conf
Once you have done this, then you are ready to use phpMyAdmin on your website.
Type in your website IP address followed by /phpmyadmin.
When this is done, you should get the following page
shown below.
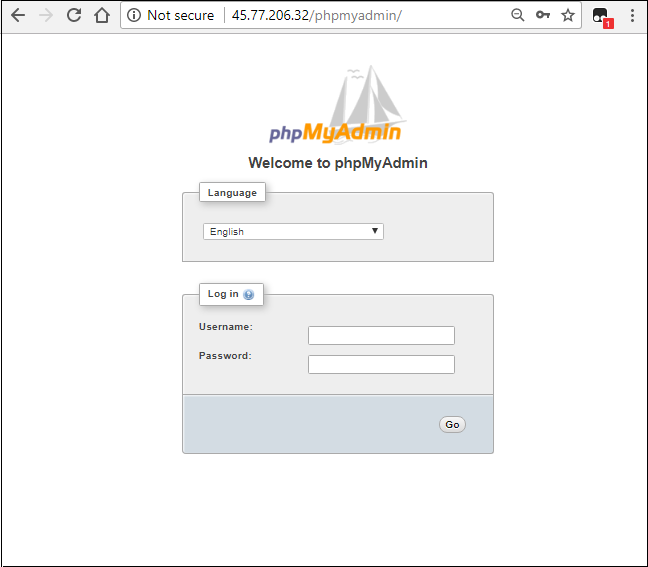
Now you can use the username and password you created to log in and execute MySQL commands.
And this is how you can install phpMyAdmin on an
apache web server using Ubuntu linux.
Related Resources
How to Randomly Select From or Shuffle a List in Python