
How to Perform Simple Edge Detection in an Image in Python using the OpenCV Module

In this article, we show how to perform simple edge detection in an image in Python using the OpenCV module.
Edge detection is very important when doing image analysis.
Let's say that we are doing something such as building self-driving cars. Self-driving cars have systems where they take numerous images of the road every second to analyze everything that's going on on the road. To do things such as be able to detect lanes and to be able to detect sidewalks, the images that self-driving cars create while on the road need to be analyzed to make sure that the car stays in the appropriate lane and doesn't cross over to areas such as the sidewalk when driving. Therefore, edge detection is crucial to systems such as self-driving cars, because it allows the cars to detect objects such as lanes, sidewalks, people, other cars, etc.
The OpenCV module is a very advanced module used for many applications in computer vision, including edge detection. We will use OpenCV in this program in order to be able to detect edges in an image.
So let's now go through the process of detecting edges in an image in Python.
In the end, we will have produced an actual images that have all edges outlined.
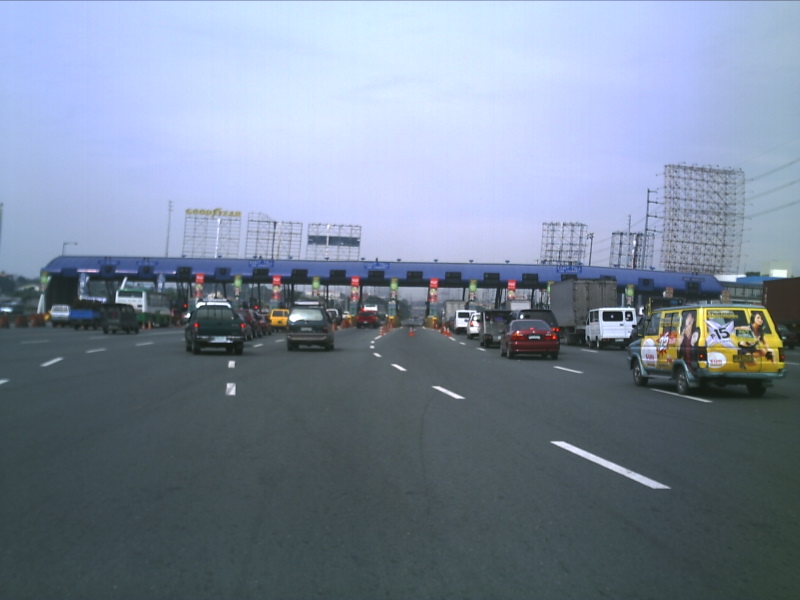
The image that we will use for this project will be of a highway with multiple lanes and with many vehicles shown at the following link: Highway.
Below is the full code to create an image with all the
edges detected.
So we will now go over the code.
The first thing we must do is import the modules we need in order to create this image with all edges detected.
The modules we will use are the OpenCV module and the numpy module.
The numpy module is used to create a copy of the original image, which we will then modify.
So after the importing of the needed modules, we then hav eto read in the image. We do this through the imread() function, which we must feed in the name of the image. If the image is in a different location than the current directory, the path must be specified.
We then show the image through the imshow() function. The imshow() function takes in 2 parameters; the first parameter is the title of the window and the second parameter is the image.
We then make a copy of the image through numpy with the np.copy() function.
Next, we perform grayscale conversion of the image with the cv2.cvtColor() function. We convert the image to grayscale because it simplifies the image and analysis much less computationally intensive.
Next, we use the cv2.canny() function from the OpenCV module. The canny() function checks the gradients throughout the image. How edge detection works is analysis is done on the image to check for color changes from pixel to pixel all throughout the image. The canny() function performs derivatives throughout the image checking for strong gradients, which represent edges.
The cv2.Canny() function takes in 3 parameters. The first is the image, which in this case we feed it the grayscale converted image. The second is the low threshold gradient, which we specify as 50. The third is the high threshold gradient, which we specify as 150. What the low threshold gradient and the high threshold gradient means is that if there is a gradient less than 50, it is not detected as an edge. If there is a gradient greater than 150, then this is classified as an edge.
The manual provided for the OpenCV module states that gradients specified should be in a 1:2 ratio or a 1:3 ratio.
Once this program is run, we get the image with all the edges outlined.
The original image is shown below.

When the canny() function is applied to the grayscale
converted image, then we get an image with all the edges outlined.
This is shown below.
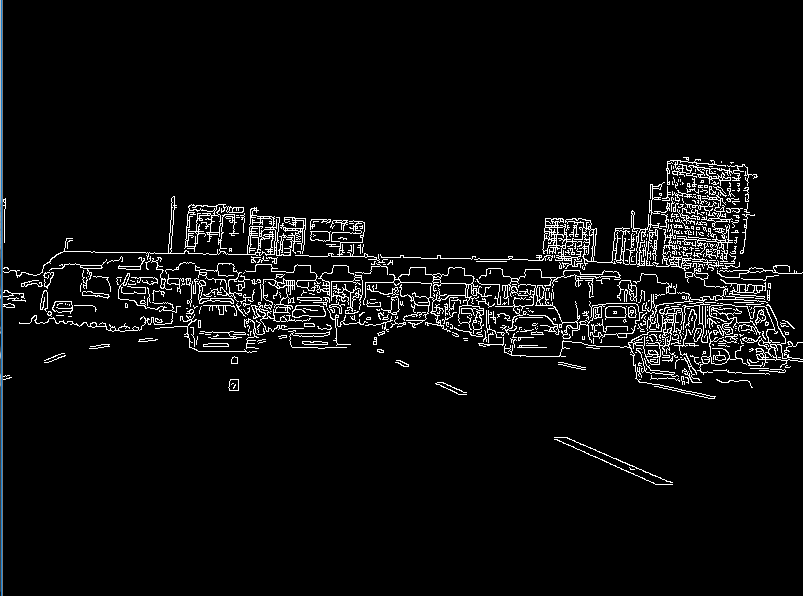
So now that the edges are clearly outlined, then the system, such as a self-driving cars, can now the boundaries it is working with.
This is how to perform
edge detection in an image in
Python using the OpenCV module.
Related Resources
How to Randomly Select From or Shuffle a List in Python