
How to Perform Grayscale Conversion of an Image in Python using the OpenCV Module

In this article, we show how to perform grayscale conversion of an image in Python using the OpenCV module.
Grayscale conversion is taking an image in another format, such as RGB, and converting it to grayscale, which is a single-channel color format. Grayscale only represents the amount of light in an image, meaning it only holds the intensity information (intensity of light in each pixel in the image). Each pixel can vary from a value of 0 (black) to 256 (white).
RGB is a 3-channel color formatting system made of the intensity of red, the intensity of green, and the intensity of blue.
Grayscale is much simpler, as it only contains intensity information and isn't composed of a breakdown of the amount of red, green, or blue an area has. Therefore, it's a simplified version of another color formatting such as RGB. Therefore, in the field of computer vision where images are frequently analyzed, images are frequently converted to grayscale rather than remaining in the RGB format, because it's less computationally heavy than RGB. Analyzing an image in RGB is more computationally intensive due to the fact that it contains more information.
So one of the main reasons grayscale conversion is to create a snapshot of the image that is simpler, so that analysis of the image is less computationally intensive.
So, in this article, we use the OpenCV module to perform grayscale conversion of an image in Python.
As a note, in order for this project to work, you must have installed OpenCV, which you can do with the line, pip install opencv-contrib-python
So the first thing you must do is to choose an image that we want to use that's in color and then load the image into the Python program. We then perform the grayscale conversion of the image and then display it.
This is shown in the code below where we load an image, convert the image to grayscale and then display the image. The image is called named 'Rose.jpg'.
If you want to download this image, you can do so at the following link:
Rose.jpg. Otherwise,
you can use any color image that you have.
So let's now go over this code.
So the first thing we have do is to import the OpenCV module, which we do with the line, import cv2
The next thing we must do is import numpy, which by convention is normally shorthanded by np. We use numpy to make a copy of the original image.
Next, we must load the image in. If the image is in the current working directory that you are using, then you simply just have to specify the file name. If it isn't, then you have to specify the full path on your computer to the image. In the example, the image is in the same folder as the current working directory, so we simply specify the file name, 'Rose.jpg'.
So we now have the image loaded into the variable, image.
Next, to display the image, we use the imshow() function, which takes in 2 parameters. The first parameter is the name of the window in which the image will appear. This will appear in the title bar of the window. The 2nd parameter is the image that you want to appear. We simply pass in the image variable, which is the variable which contains the image we loaded in.
Now, depending on the operating system you're using, you may have to add another line of code if you don't see the image appear. This is because some operating systems will have the image show and then closed within a fraction of a second. To combat this, if it occurs, you add in the line, cv2.waitKey(0). What this does is it will have the image appear and will only have it closed if the user presses a key.
Next, we create a copy of the image using numpy. The reason we want to create a copy of the image is because we want the original image left alone and undisturbed. Therefore, we have the original image and then we have a separate image the original image but with grayscale conversion.
We then create another variable, grayimage. This will represent the original image with grayscale conversion.
In OpenCV, we use the cv2.cvtColor() function to perform grayscale conversion. This function takes in 2 parameters. The first is the image that you want to convert. The second parameter is the type of conversion that you want done. In this case it is grayscale conversion, which is cv2.COLOR_RGB2GRAY. This conversion converts an RGB-formatted image into grayscale format.
We then show the grayscale image.
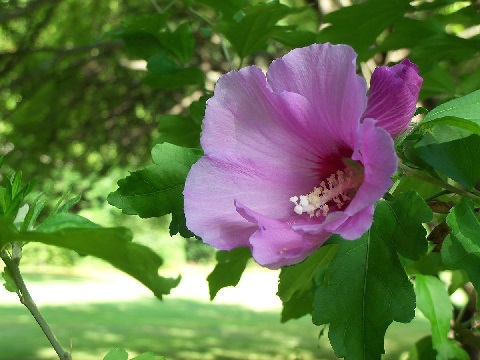
So below is the original image of Rose.jpg.

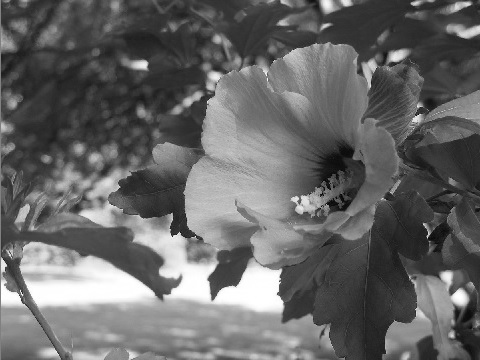
And then we perform grayscale conversion, we have the following
image shown below.
So this is how to perform grayscale conversion of an image in
Python using the OpenCV module.
Related Resources
How to Randomly Select From or Shuffle a List in Python