
How to Print a Character or String to the Emulator Screen in x86 Assembly Language

In this article, we show how to print a character or string to the emulator screen in x86 assembly language.
Printing a single character to the emulator screen is a lot simpler than printing a string because a register can only contain one character at a time due to its limited bits.
One character such as an 'A' or 'B' is a byte.
A register only has space for 2 bytes being that registers in the 8086 emulator are 16 bits.
So if we are using the AX register, it only has space for 2 bytes at a given space.
In order to output a character or string, one byte is used as an instruction to output a byte at a time to the bios in order to be able to output a character.
Thus, there is only one byte at a time available in the AX register to store a character.
So printing a character to the emulator screen is simple, as the AX register can hold a character.
However, outputting a string is much more complex because one character can only be read at a time. Therefore, we have to create a stream that reads in one character at a time and prints one character at a time to the screen until we have read all the characters in the string.
First, however, we start with the more basic single character.
Printing a Single Character to the Emulator Screen in x86
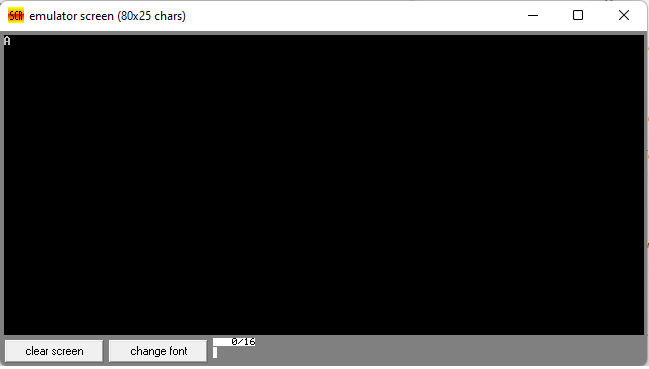
In the following code below, we output a single character, the character, 'A',
to the emulator screen.
So the first thing we do is we have the statement, mov ah, 0eh
This gives the bios instructions to output a single character.
Then we have the statement, mov al, 'A'
This moves the character 'A' into the lower order bit of the AX register. This is the character we want to output to the emulator screen.
Then we have the statement, int 10h
This is an interrupt which will output the character to the emulator screen. It is an interrupt that functions with the BIOS in order to output data to the emulator screen.
Then we have our ret statement, simply to return control to the operating system.
When we run this code, we get the character 'A' output to the emulator screen.
So outputting a single character to the emulator screen is a relatively basic
task, as you see we have done with only a few lines of code.
Printing a String to the Emulator Screen in x86
Next, we print a string to the emulator screen in x86 assembly.
Printing a string is a lot more involved, because the register can only read in one byte (which is one character) at a time.
Therefore, we need to create a stream, load in our string, and then read and print out each character at a time until we are done reading the string.
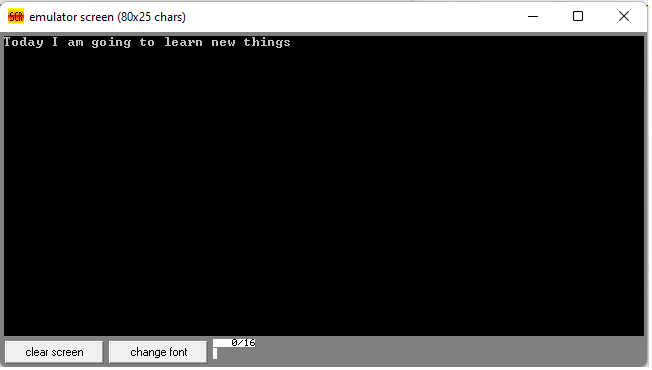
In our code below, we print out the string, 'Today I am going to learn new things'
This is shown in the code below.
So you can see that this program is a lot more advanced than the last one. This is for outputting a string to the emulator screen.
So the first thing we do is we create the statement, jmp main
We create this statement because the x86 emulator will run a program from the top of the code to the bottom.
We don't want this because we have a message label underneath that contains the string, 'Hello World'
If we didn't jump to main, then the program would try to execute the message label and it would give an error and the program wouldn't run because the x86 doesn't have enough bytes to process an entire string at once. Instead, we must read the string one byte (which is one character) at a time so that the program can't process and output the string without causing an error.
So we have this jump statement so that the program won't fail due to the message label.
So the program jumps to the main label.
Within this main label, we have the statement, mov si, message
The si register is a register that stands for Source Index register (SI). It is used as a pointer to a source in stream operations. Because we're streaming from this data byte string, 'Today I am going to learn new things', we utilize this register.
Next we have the statement, call print
This goes to the print label
There we have the statement, mov ah, 0eh
This allows us to print out each statement to the emulator screen one character at a time.
Underneath, we have the lodsb operation, which stands for load string byte, meaning it loads one byte at a time, which is one character.
Next, we have the statement, cmp al, 0
This statement checks to see if the byte loaded in is 0
If it is 0, this means that the string is ended. This is why there is a 0 at the end of 'Today I am going to learn new things'
If this is a match, then the program will jump to the .done label
If it is not 0, then the program runs the statement, int 10h
With this statement, the x86 program outputs each byte to the emulator screen as output.
Then the program jumps back to the ._loop label
It then reads in the next byte.
It checks to see whether this byte is 0. If it is, we have reached the end of the string and the program is complete.
If it is not 0, then we output the byte to the emulator screen.
This repeats until the byte read in is 0, signaling that the string is fully read and we have reached the end.
At the end, the program outputs the
'Today I am going to learn new things' string, as can be seen below.
So now you see that we have output a string to the emulator screen. And this
string can really be as long as you want, because each character is read one at a time, so
it can go indefinitely to a large amount of characters.
So this is how to print a character or string to the
emulator screen in the x86 assembly language.
Related Resources