
How to Resize an Image in Python using the OpenCV Module

In this article, we show how to resize an image in Python using the OpenCV module.
Resizing images is very important and is a standard part of software photo editing applications. However, even many websites enable resizing for images, such as producing thumbnail versions of images or just simply different sizes.
With the OpenCV module in Python, we can manipulate images, including resizing them. Images can be resized to smaller or larger versions than the original pixels.
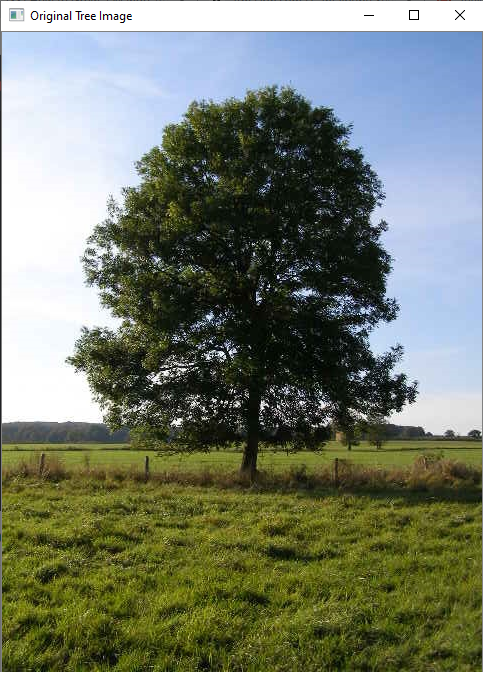
In this article, we are going to resize an image, Green-tree.jpg, that has an original width of 480 pixels and height of 640 pixels and convert it into a resized image of a width and height of 400px each.
If you want to download this image, you can do so at the following link: Green-tree.jpg. Otherwise, you can use any image that you have.
So the code to do this is shown below.
So let's now go over this code.
So the code is pretty simple.
So the first thing we have do is to import the OpenCV module, which we do with the line, import cv2
The next thing we must do is import numpy, which by convention is normally shorthanded by np. We use numpy to make a copy of the original image.
Next, we must load the image in. If the image is in the current working directory that you are using, then you simply just have to specify the file name. If it isn't, then you have to specify the full path on your computer to the image. In the example, the image is in the same folder as the current working directory, so we simply specify the file name, 'Green-tree.jpg'.
So we now have the image loaded into the variable, image.
Next, to display the image, we use the imshow() function, which takes in 2 parameters. The first parameter is the name of the window in which the image will appear. This will appear in the title bar of the window. The 2nd parameter is the image that you want to appear. We simply pass in the image variable, which is the variable which contains the image we loaded in.
Now, depending on the operating system you're using, you may have to add another line of code if you don't see the image appear. This is because some operating systems will have the image show and then closed within a fraction of a second. To combat this, if it occurs, you add in the line, cv2.waitKey(0). What this does is it will have the image appear and will only have it closed if the user presses a key.
Next, we create a copy of the image using numpy. The reason we want to create a copy of the image is because we want the original image left alone and undisturbed. Therefore, we have the original image and then we have a separate image the original image but with resized dimensions.
We then create another variable, resizeimage. This will represent the original image with resized dimensions (resized width and height).
In OpenCV, we use the cv2.resize() function to perform an image resize. This function takes in 2 parameters. The first is the image that you want to convert. The second parameter is the new dimensions that you want the resized image to be. These go within the parenthesis with the first parameter being the height and the second parameter being the width. A width and height must be specified.
We then show the resized image.
So below is the original image of Green-tree.jpg.
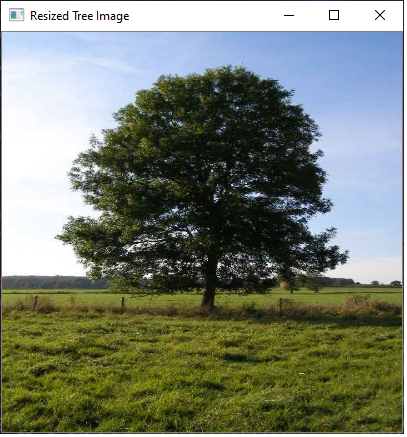
And then after resizing the image, we have the following
image shown below.
So this is how we can resize an image in
Python using the OpenCV module.
Related Resources
How to Randomly Select From or Shuffle a List in Python