
How to Set the X and the Y Limit in Matplotlib with Python

In this article, we show how to set the x and the y limit in matplotlib with Python.
So, say, we have a plot in matplotlib. And this plot extends from a certain x value, say 0 to 12.
However, say we want to narrow into this x range and only show the plot from 0 to 5. We can limit the values shown in the x coordinates with the set_xlim() function.
The same is true for y coordinates. If you want to limit the range of the y coordinates shown in the graph plot, you can do so in matplotlib. This is done with the set_ylim() function.
Into these limit functions, you are able to pass in a list consisting of 2 values. The first value is the lower limit and the second value is the upper limit. This limits the coordinates to these 2 values.
So in the following code below, we create a plot of x coordinates of 0 to 12 and have the y coordinates be the square of each of these x coordinates.
We then limit the x coordinates from 0 to 5.
So the first thing we have to do is import matplotlib. We do this with the line, import matplotlib.pyplot as plt
We then create a variable fig, and set it equal to, plt.figure()
This creates a figure object, which of course is initially empty, because we haven't populated it with anything. We then add axes to this figure. We then have our x coordinates that range from 0 to 10. We then plot the square of the x coordinates.
We then set the limit of the x coordinates from 0 to 5 using the set_xlim() function. Again, this function takes in a list composed of 2 values. The first value is the lower limit and the second value is the upper limit.
Lastly, we show the figure with the show() function.
This works if you're using a python IDE other than jupyter notebooks. If you are using jupyter notebooks, then you would not use, plt.show(). Instead you would specify in the code right after importing matplotlib, %matplotlib inline
This line allows the figure of a graph to be shown with jupyter notebooks.
After running the following code above, we get the following
figure with the x coordinates limited from 0 to 5 shown
in the image below.

So now you see a figure object with a graph plot with the x axis limited from 0 to 5.
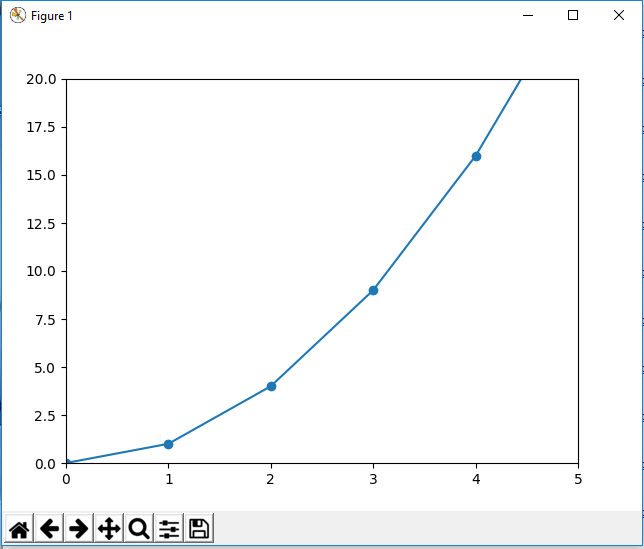
In the following code below, we limit the y axis from 0 to 20, along with
an x-axis limit from 0 to 5.
So now both the x axis is limited as well as the y axis.
The x axis is limited from 0 to 5 by the statement, axes.set_xlim([0,5])
The y axis is limited from 0 to 20 by the statement, axes.set_ylim([0,20])
This creates the following graph shown below.
And this is how you set the x and y limit in matplotlib with Python.
Related Resources
How to Randomly Select From or Shuffle a List in Python