
How to Install U-Boot on an SD Card To Be Used With a BeagleBone Board
In this article, we will show how to install U-boot on an SD card to be used with a beaglebone board.
In order to install U-boot on the SD card, you first need to get a compatible copy of U-boot for your device in question.
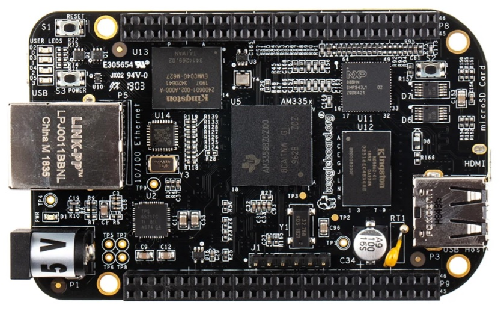
How this works is you find out how the processor for the board that you are using. For the BeagleBone black board, the processor that this board uses is the AM335x processor created by Texas Instruments. This can be obtained from the datasheet of the BeagleBone black board. Beaglebone Black boards function off of Texas Instrument chips.
What you want is the software development kit for the AM335X processor, named the PROCESSOR-SDK-AM335X.
And specifically, you want the Linux support for the processor SDK for the AM335x Sitara processor. It will be labeled, Processor SDK for AM335x Sitara Processors - Linux and TI-RTOS support
According to the website for Texas Instruments, "Processor SDK (Software Development Kit) is a unified software platform for TI embedded processors providing easy setup and fast out-of-the-box access to benchmarks and demos. All releases of Processor SDK are consistent across TI’s broad portfolio, allowing developers to seamlessly reuse and migrate software across devices. Developing scalable platform solutions has never been easier than with the Processor SDK and TI’s embedded processor solutions." "Processor SDK v.02.xx includes support for both Linux TI-RTOS operating systems. Linux Highlights: Long-Term Stable (LTS) Mainline Linux Kernel support, U-BOOT bootloader support, Linaro GNU compiler collection (GCC) tool chains, Yocto Project OE Core compatible file systems."
So there you see that within this SDK, you can find a compatible U-boot image disc file for the processor on your board.
So for the BeagleBone black board, for example, you can download the linux SDK from the following link: PROCESSOR-SDK-AM335X
What you want to download is the AM335x Linux SDK prebuilt BSP binaries and root filesystem. This is a package with .xz file extension.
This is shown below.
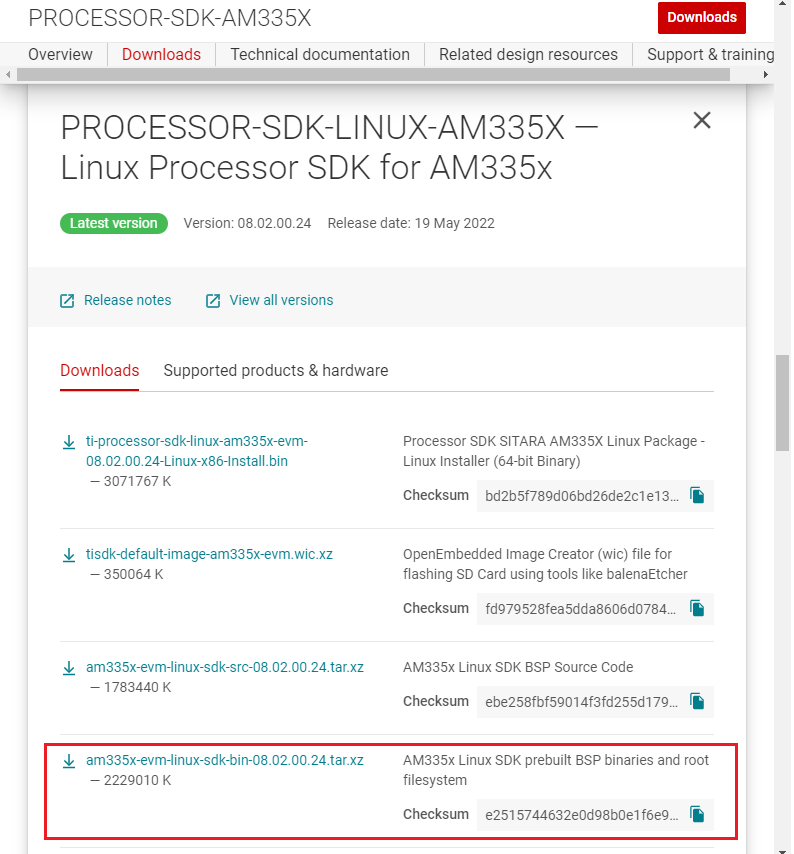
This is a relatively big file over 2GB in size, so it takes a little while to download.
You will need a software that can extract files from a zip folder such as 7-zip.
Once you extract these files, you will see various files inside the folder, including the U-Boot file.
This is shown below.
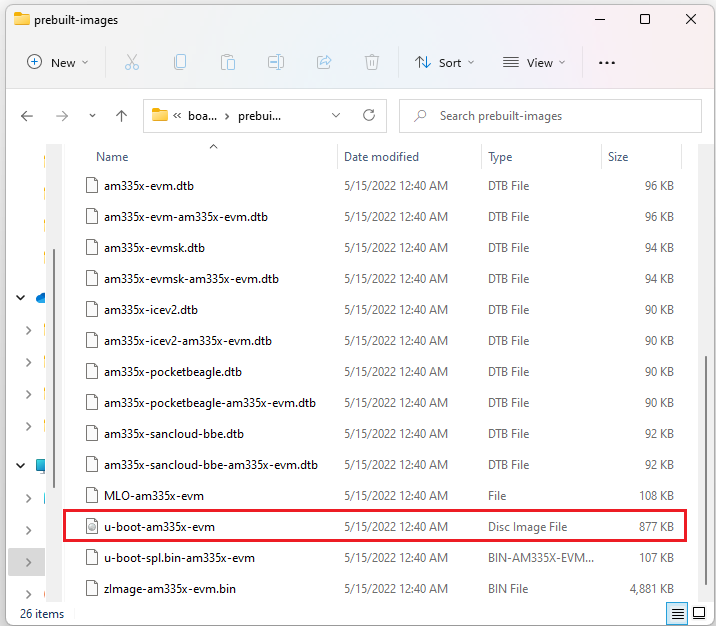
Inside of the directory, board-support, inside the directory, prebuilt-images, you will find many useful files, including the U-boot file and right above that,you see the MLO file.
The MLO file is as vital as the U-boot file, because the MLO is the program that fetches the U-boot file to allow U-boot to run. Without an MLO, or second program stage bootloader, U-Boot cannot run. So we are going to need these 2 files within our BOOT partition for U-boot to successfully operate.
So now that you have these 2 files, this is all we need to get U-boot to operate.
So now the next step is setting up the microSD card that we are going to use.
We have to partition this SD card into 2 partitions.
One partition is the BOOT partition and the other is the ROOTFS (Root filesystem) partition.
This process is explained below.
So the first thing you will need to do is get a USB SD card reader, which one, for example is found at the following link on amazon.com: USB SD Card Reader
Even though there are SD card ports on laptops where you can insert the SD card in directly, the linux operating system may not be able to detect the card this way.
The more sure way of being able to detect the card is by putting the card into a USB SD card reader. This SD card reader will then be easily identified by the linux operating system.
Then you'll need to make sure that you have a microSD card, which we will partition.
So let's now go over how to partition the SD card.
The BOOT partition contains the MLO (second program bootloader) and the U-Boot disc image file.
The ROOTFS partition contains the all the files needed for the root filesystem of the operating system, including the linux kernel file. However, in order to get U-Boot to work, the root filesystem files aren't necessary, because we're simply showing how to install U-boot and not the complete linux kernel, in this article.
So below a visual of what we will need to do with partitioning software.
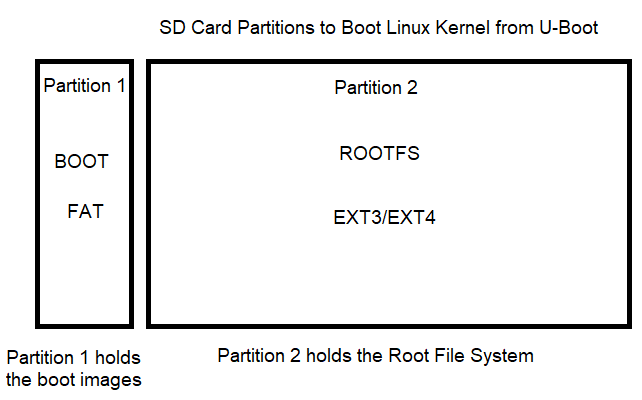
You can see in the diagram there are 2 partitions.
The BOOT partition will be the smaller of the 2, because the BOOT files do not take up much memory.
Notice how the BOOT partition is of the FAT file system type.
The FAT file system is a file system created by Microsoft in 1977 and is still used today as the preferred file system for many portable media devices, many of which are used as bootable devices or devices which can be used to boot an operating system, such as floppy drive media, flash drives, and SD cards.
So when we are creating the BOOT partition, this must be of file system type, FAT, specifically FAT16.
The next partition is the ROOTFS partition, which will be the larger partition, because it stores much more data. While the BOOT partition is simply the BOOT media, the ROOTFS stores all the file systems of the operating system.
This partition will be of file system type, EXT, which is a native linux file system. This makes sense because we are booting a linux kernel. Specifically, our file system will be of type EXT3. However, again, since we are not actually installing the linux kernel, we will not populate this partition.
So the next thing we need is the software that will do our partitioning of the SD card.
There's a software available in linux called gparted, which is a GUI software which can partition drives. So this is what we will use.
If you don't have it on your operating system, it is a simple download.
So after downloading this software, plug in the USB SD card reader with the microSD card inside of it.
Before you go into the software, you must make sure that the linux operating system recognizes the USB SD card reader device.
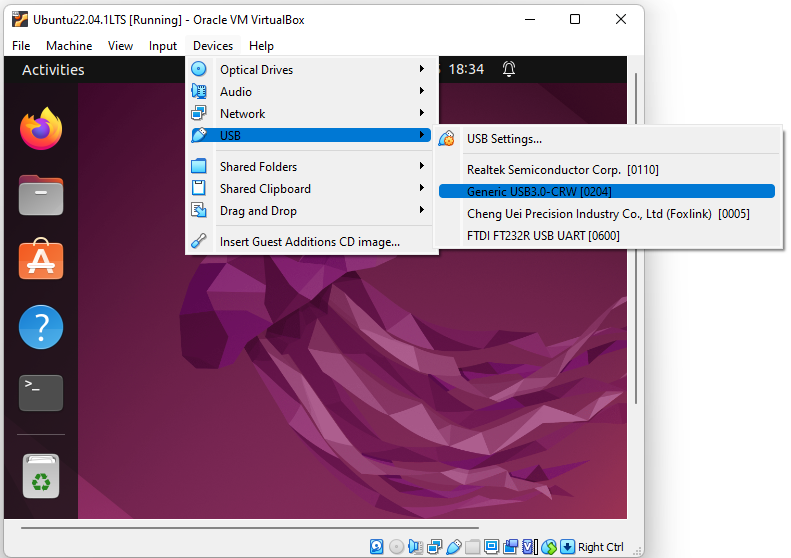
What you do is go to the menu and drop down the tab for devices and select under the USB devices the SD card reader. After you click, there should be a check mark next to it. This shows that the linux operating system now recognizes it. This will now be picked up by the gparted software.
This is shown below.
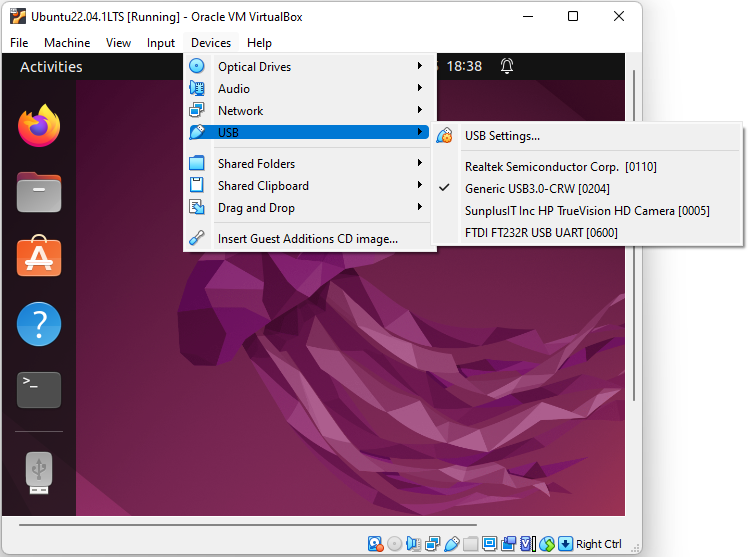
After you select the appropriate device, you should see a check mark by the device, as shown below.
So now that the operating system recognizes the device, now we can start with partitioning the SD card with the gparted software.
So the first thing you want to do is make sure that you delete any partitions, if there are any on the SD card. What you want is any SD card completely unallocated.
Then you can start with creating the first partition.

You want to create a partition named BOOT that is about 1095MB (or 1GB) in space that is of type FAT16.
This is shown below.
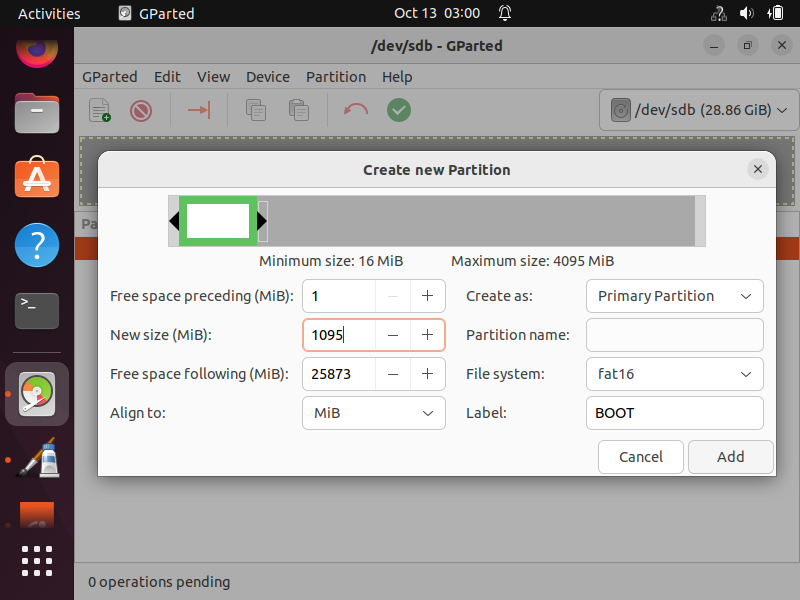
So once you have these settings, you can click the 'Add' button at the bottom right of the window.
Then you need to go back to the Unallocated space of the drive and right click and create a second partition
for the root file system.

This partition will be of file system type, EXT3.
Name it ROOTFS.
The space can be the rest of the unallocated space of your SD card.
This is shown below.
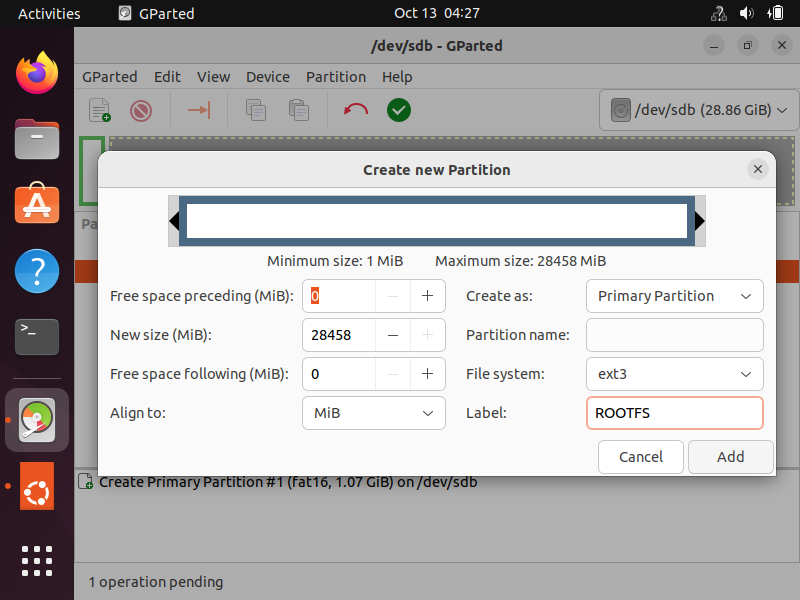
So definitely let the ROOTFS partition be the remainder of the memory for the SD card. This is to prevent there being a third partition, which is unnecessary.
So now we have all the partitions that we need for booting the linux operating system.
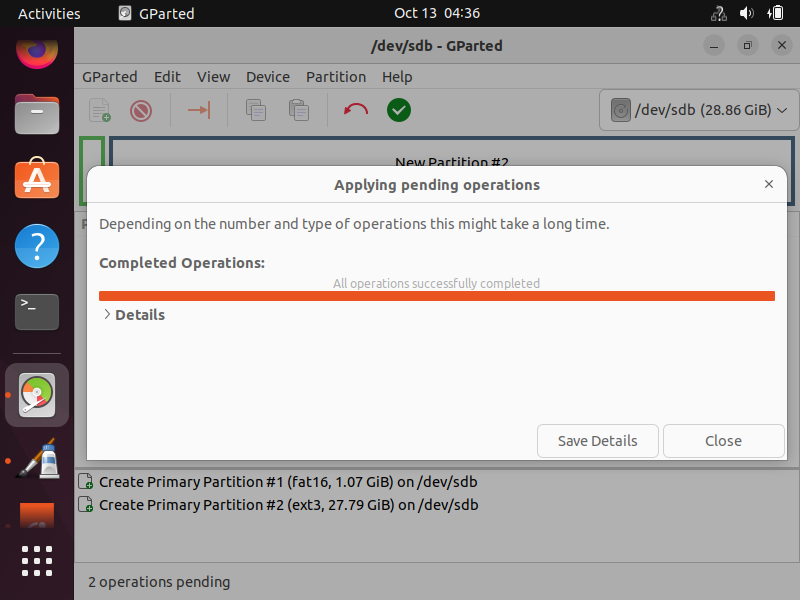
However, they are not created until we click the green check mark at the top of the page, which applies all operations that we have done (to create the partitions). Once you click this button, the program will take some time to create the partitions.
But once the program is done, you will get a message stating its success. This is shown below.
After we are done with this, there is one last thing we must do in gparted.
We must add a boot flag to the BOOT partition.
This is done by right clicking on the BOOT partition and clicking on 'Manage Flags'
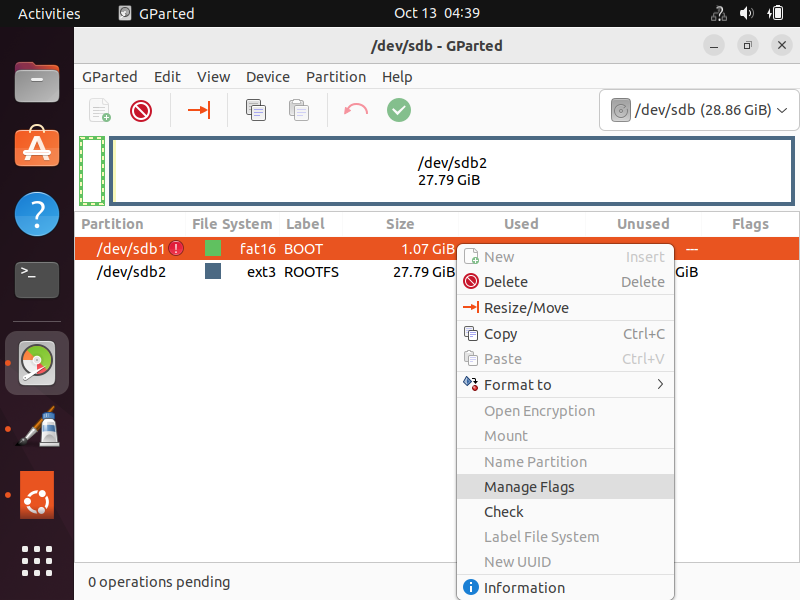
In the new window, you want to select 'boot'
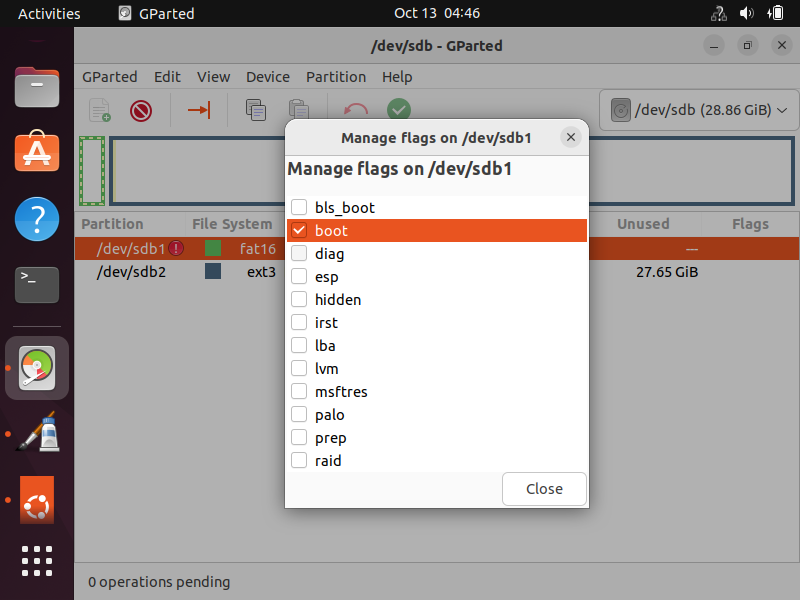
Then you press the 'Close' button.
Now when you view the partitions, you should see the boot flag present by the BOOT partition, which is
shown below.
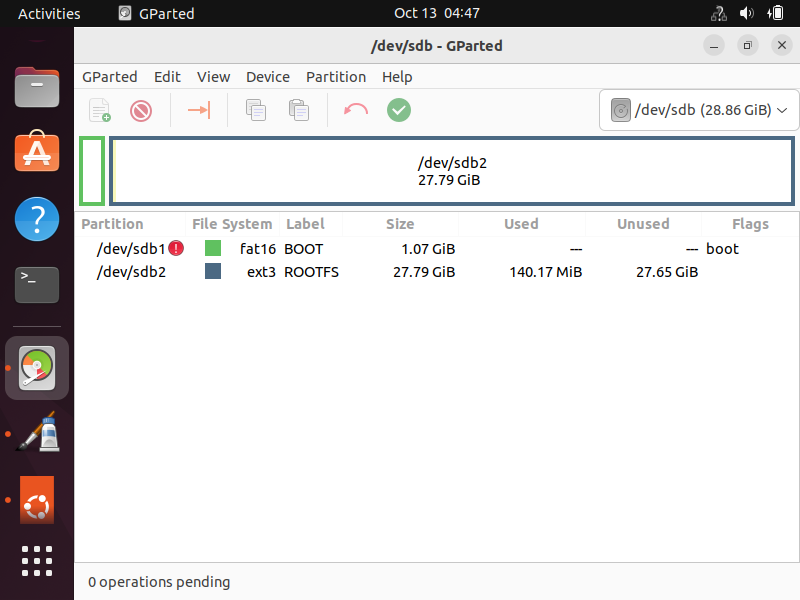
Now we are completely done with partitioning the SD card.
Now close out of the gparted software.
You should see on the left side of the screen these partitions show up.
These are shown below.
So this is great.
We now have working partitions that the linux operating system recognizes and they show up in the operating system.
Now we have to populate the BOOT partition with the necessary files.
So the first file that we are going to place into the BOOT partition is the MLO file, which is the second stage bootloader program.
Download this file to your linux operating system and it must be placed within the BOOT partition.
In order to do this, you simply can't copy and paste it, because you need root privileges.
You're going to need to go to the terminal, so that you can have sudo privileges to copy the MLO file from where you downloaded it to the BOOT partition.
To do this, go to the Downloads folder. Usually anything you download will be placed into this folder.
And then you'll have to type in the following command.
This line will copy the MLO file into the BOOT partition.
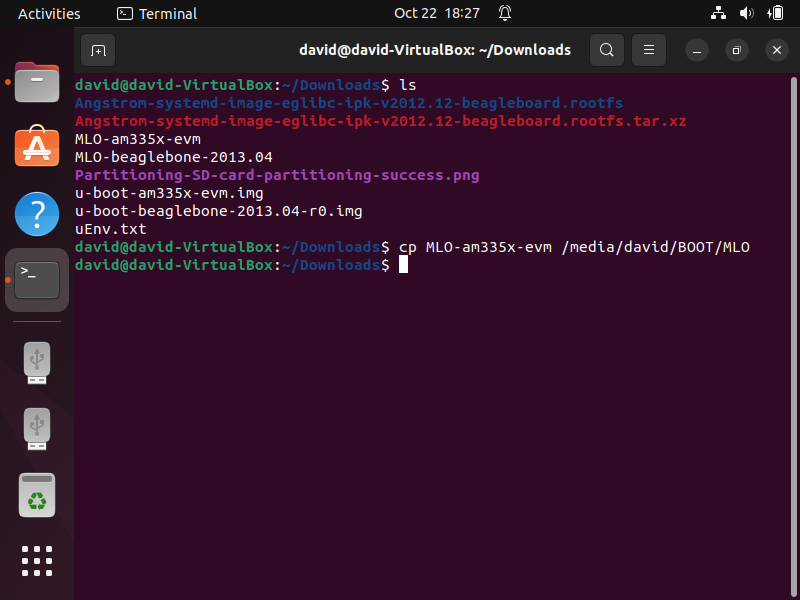
Realize that whatever you named your computer, you replace that with david, as you see above.
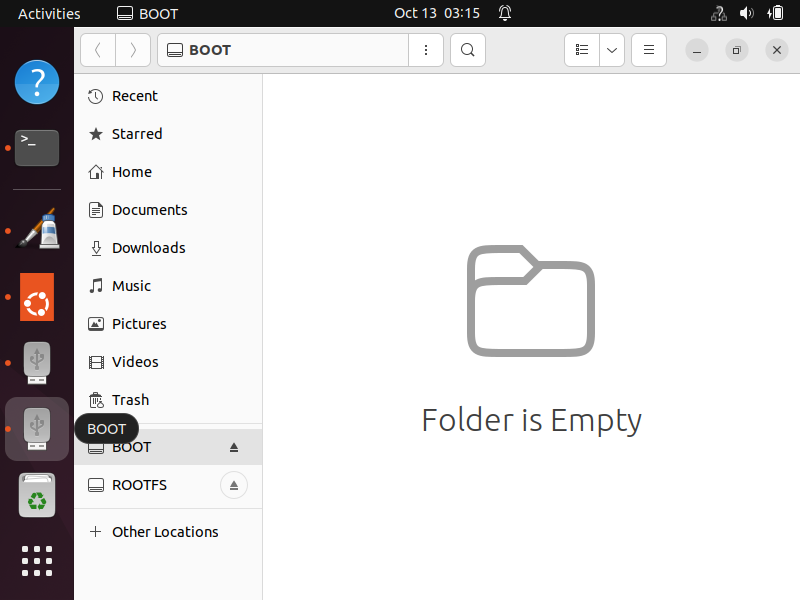
After you run this command and then go to the BOOT partition, you should see the MLO file present.
This is shown below.
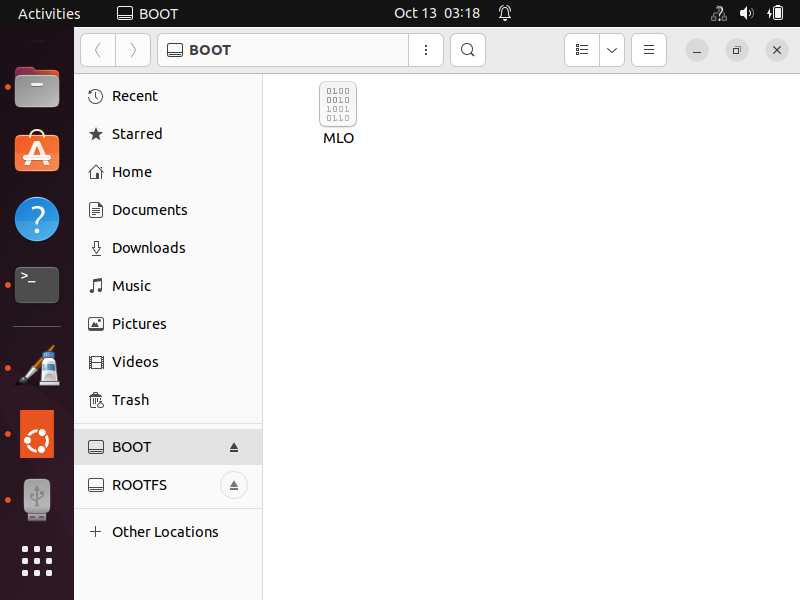
You now have the MLO file, which is the second program bootloader needed to boot the third stage bootloader, which is U-boot. Without a second stage bootloader, a third stage bootloader, such as U-boot, would not run.
Next, we will add the U-boot file to the BOOT partition.
So, in the same manner, we go back to the terminal and copy our next file, which is the u-boot file.
To copy the U-boot file, we use the following command below.
The running of this code is shown below.
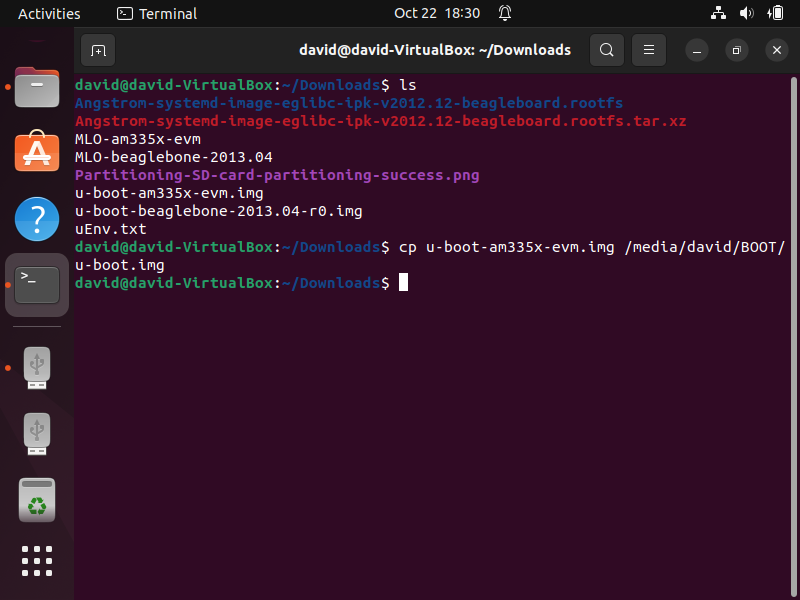
After you run this command, you should see the U-boot file within the BOOT partition.
This is shown below.
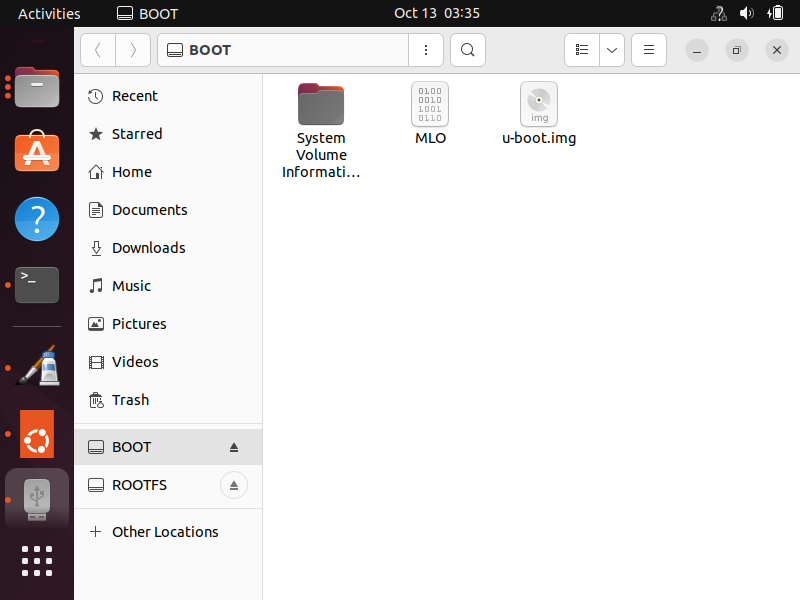
These are the files that you need in order to get U-boot run from your SD card through your beaglebone board.
If you wanted to boot the full linux kernel, you would need to add a uEnv.txt file to the BOOT partition and the root filesystem file to the ROOTFS partition. However, in this article, we are only showing how to install U-boot, so these will not be installed. If you want to do a complete booting of the linux kernel from U-boot, then see the following article, How to Load a Linux Kernel Image from U-Boot using an SD Card on a BeagleBone Board
Again, in this article, we are simply getting U-boot installed on an SD card.
Now you can remove the SD card from the USB SD card reader and place it into the SD card adapter on the beaglebone board.
Shut off the power to the board by pressing down S3 until the board powers down and, while holding the S3 button, turn power back on the board by pressing S3.
You will get an output such as that shown below.
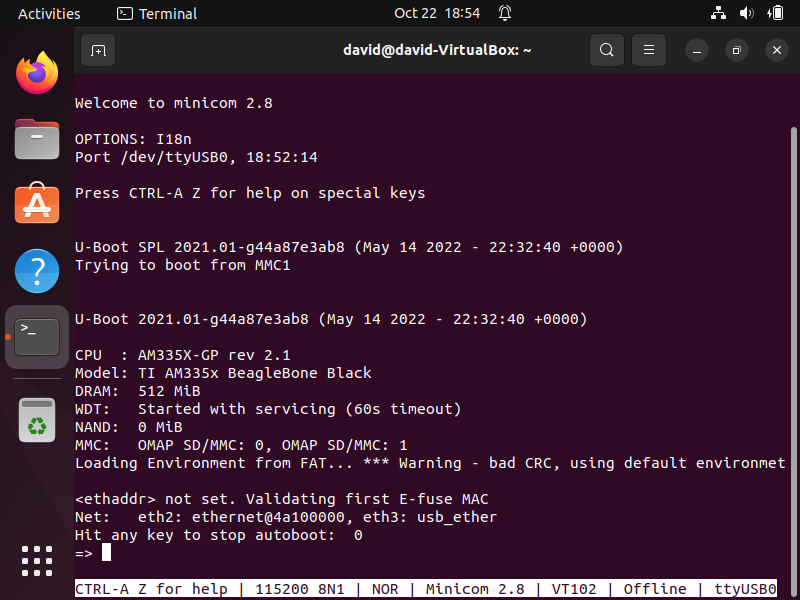
You can see that we now have U-boot installed from the SD card.
We are now free to use u-boot commands and do u-boot related tasks.
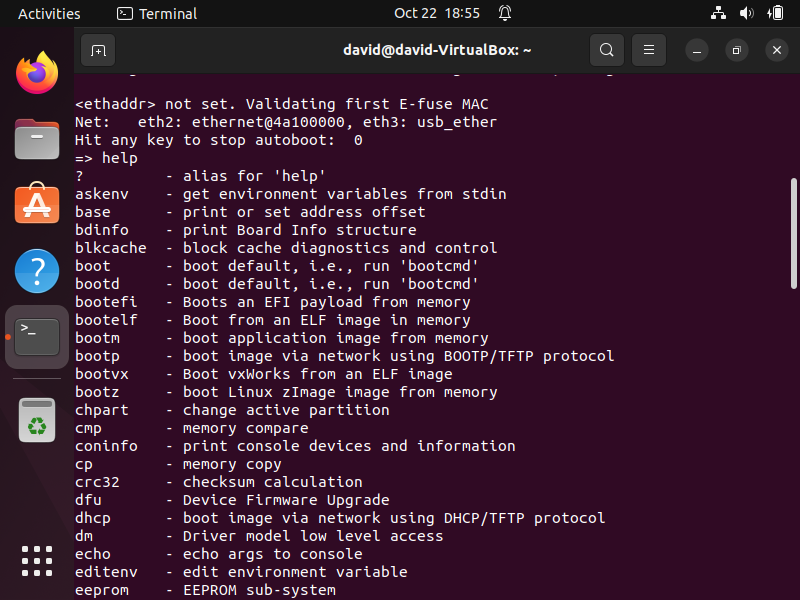
For example, if you type in the keyword, help, you will get a list of all the U-boot commands.
This is shown below.
So congratulations, you now have U-boot running on your computer through the SD card inserted
into your beaglebone board.
So this is how to install U-boot on an SD card on a beaglebone board.
Related Resources