
How to Perform Dilation or Erosion in an Image in Python using OpenCV

In this article, we show how to perform dilation or erosion in an image in Python using the OpenCV module.
Dilation or erosion can be very useful.
Say, for example, we are using computer vision for an application such as self-driving cars. Say we want to be able to read a speed limit sign, so that we can classify it as a speed limit sign and be able to see what is the speed limit for the particular road we are travelling on. We can use erosion to erode the background of the image, so that the speed sign is magnified.
When thinking of dilation and erosion, you may think that dilation would make the speed limit sign more amplified and that erosion will make the speed limit less amplified, but it actually works the exact opposite way in OpenCV. Dilation dilates the background more, so that the speed limit sign seems less amplified or thinner. Erosion erodes the background more, so that the speed limit sign seems more amplified or thicker.
Therefore, we can use dilation or erosion to help amplify certain parts of images, so that we can better classify objects in images.
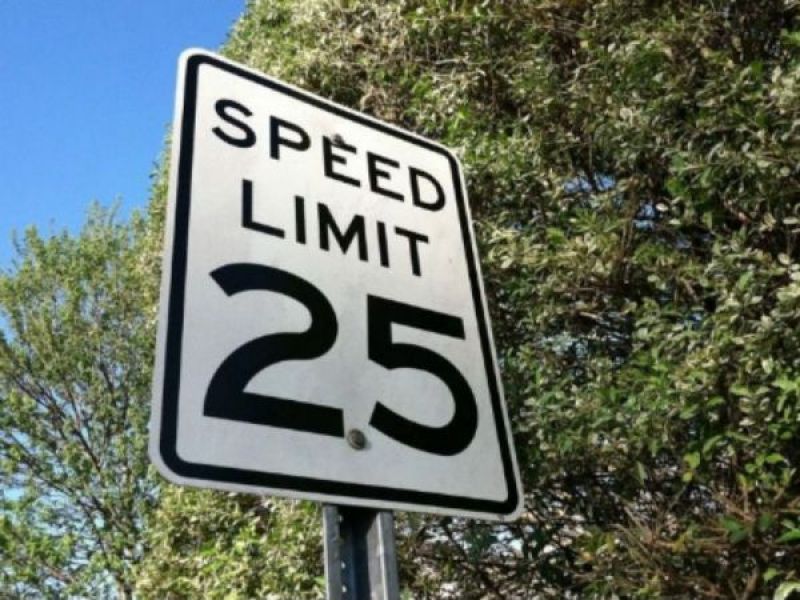
So, in this example, we will working with the following image below.
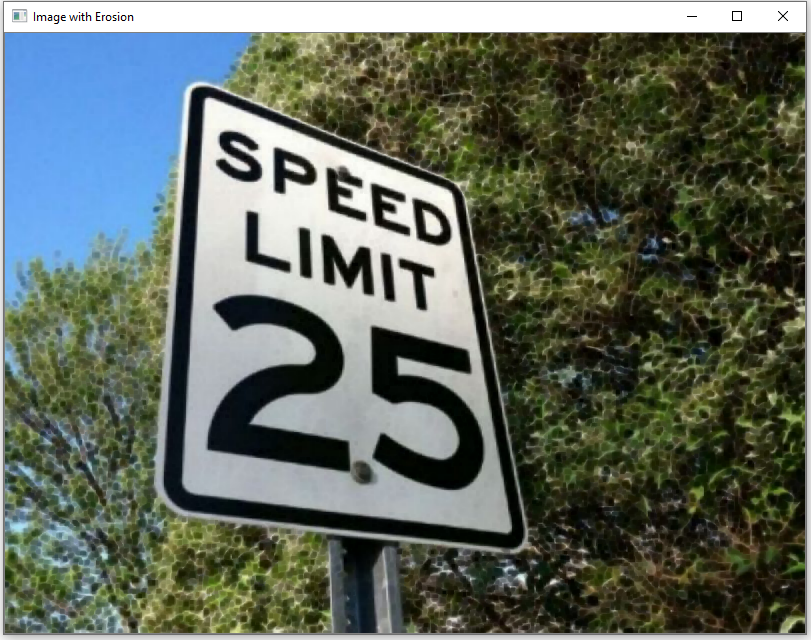
After applying erosion to the image, we get the following image shown below.
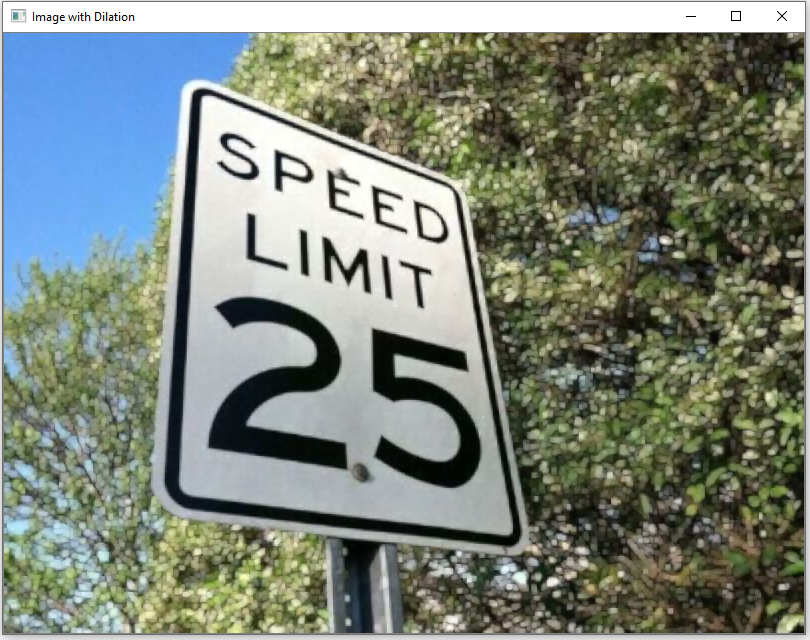
After applying dilation to the image, we get the following image shown below.
So as you can see the image with erosion has a thicker, more visible sign, because the background of the sign is eroded, amplifying the sign.
The image with dilation has a thinner, less visible sign, because the background has been dilated.
Let's now go to the code to see how dilation and erosion are done in code in Python using
OpenCV.
Let's now go over this code.
First, we import OpenCV using the line, import cv2
Next, we read in the image, which in this case is, Speed-limit-sign.jpg
We then have a kernel representing the part of the image that we want to center around, which in this case is the speed limit sign.
We then create a variable, image_dilation, which stores the image with dilation.
We then create a variable, image_erosion, which stores the image with erosion.
We then show the original image, the image with dilation, and the image with erosion.
Notice that the iterations in our code above is set equal to 1. If you set it to a higher number, the result is even more pronounce. For erosion, the speed limit sign will be even thicker. For dilation, the speed limit sign will be even thinner. So you can adjust this accordingly.
And this is how we can perform dilation and erosion in an image in Python using OpenCV.
Related Resources
How to Draw a Rectangle in Python using OpenCV
How to Draw a Circle in Python using OpenCV
How to Draw a Line in Python using OpenCV
How to Add Text to an Image in Python using OpenCV
How to Display an OpenCV image in Python with Matplotlib
How to Use Callback functions to Connect Images to Events in Python using OpenCV
How to Check for Multiple Events in Python using OpenCV