
How to Crop an Object in an Image in Python using OpenCVo

In this article, we show how to crop an object in an image in Python using the OpenCV module.
OpenCV is very dynamic in which we can first find all the objects (or contours) in an image using the cv2.findContours() function.
We can then do unique things such as crop out an object in the image.
Now, there's no crop() function in OpenCV, so we use some indexing methods to crop out an image using values we gain from the image from OpenCV.
In this example, we will be working with the following image shown below.

We will crop out each of the objects (contours) by size, from largest to smallest.
We will display each cropped part as its own separate image.
Below we'll see how this works in code.
Let's now go over this code.
First, we import OpenCV using the line, import cv2
Next, we read in the image, which in this case is, Boxes.png
We create the variable, original_image, to store the original image that will undergo modification throughout the code.
We create a grayscale version of the image and then find the Canny edges, which helps simplify the image for cvs.findContours() function. The cv2.findContours() function finds all external contours in our image, which finds the unique objects in an image.
We then sort this list from largest to smallest using the sorted() function. We store this sorted list into the variable, sorted_contours. We sort a list from largest to smallest by the attribute, reverse=True. To sort a list from smallest to largest by the attribute, reverse= False, or by specifying nothing in the reverse attribute, as reverse=False, is implied if not specified.
We then use a for loop to go through each of the elements in the sorted_contours list.
We get the x coordinate, y coordinate, width, and height of the image through the help of the cv2.boundingRect() function.
Each cropped image is rectangular in nature, because we crop purely by the width and height. There is no way using this method we can crop in any other way such as in a round fashion or elliptical fashion. Therefore, all cropped images will be rectangular.
We then create a variable, image_name, which will hold the name of our image. Each image is named, output_shape_number, followed by a sequential number starting 1 working its way up. Each image will be jpg, but you could make it another format such as png.
We then write the image to our hard drive using the cv2.imwrite() function. So the image will now be saved to the current working directory you are using.
We then read in the image using the cv2.imread() function.
We then show the image.
For our given image above, this produces the following cropped images.
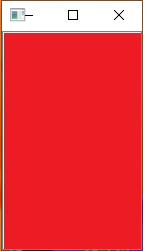
Then we have this:
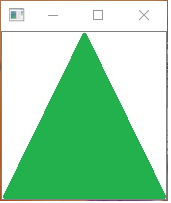
Then we have this:
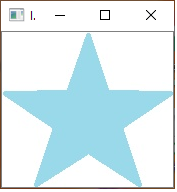
Then we have this:
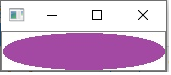
So the images are cropped from the largest size to the smallest size.
Notice how all the images are cropped rectangular, so that the first image has no white space, but the others do.
This is the basic way to crop an object (or contour) in an image in Python using OpenCV.
Related Resources
How to Draw a Rectangle in Python using OpenCV
How to Draw a Circle in Python using OpenCV
How to Draw a Line in Python using OpenCV
How to Add Text to an Image in Python using OpenCV
How to Display an OpenCV image in Python with Matplotlib
How to Use Callback functions to Connect Images to Events in Python using OpenCV
How to Check for Multiple Events in Python using OpenCV