
How to Scale an Image Up or Down in Python using OpenCV

In this article, we show how to scale an image up or down in Python using the OpenCV module.
OpenCV is very dynamic in which we can take an image and perform different functions on the image, including scaling the image up or down.
Scaling an image up means doubling its size, or giving the image twice as many pixels as the original.
Scaling an image down means decreasing its size in half, or giving the image half as many pixels as the original.
Sometimes this is referred to as pyramiding an image up or down.
We scale an image up in Python using OpenCV with the cv2.pyrUp() function.
We scale an image down in Python using OpenCV with the cv2.pyrDown() function.
Realize that scaling an original image up normally leads to loss of quality as the dimensions are greater than the original image. Therefore, scaling an image down (such as to create a thumbnail of an image) is more than likely more common.
So in this program, we are going to work with the following
original image below.
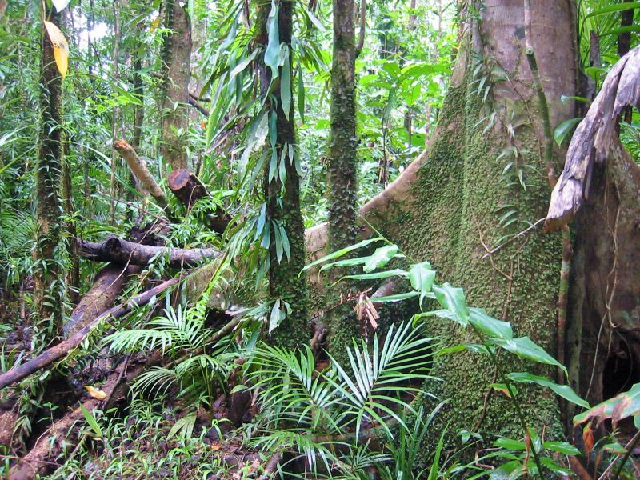
So above is an image of a rainforest. It is 800px (width) x 600px (height).
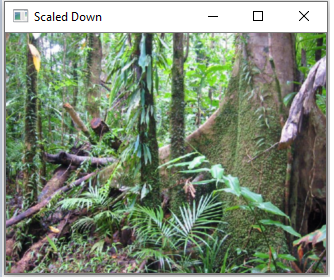
After scaling the image down, we get the following image below.
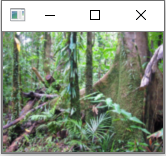
If we scale the image down once more, we get the following image below.
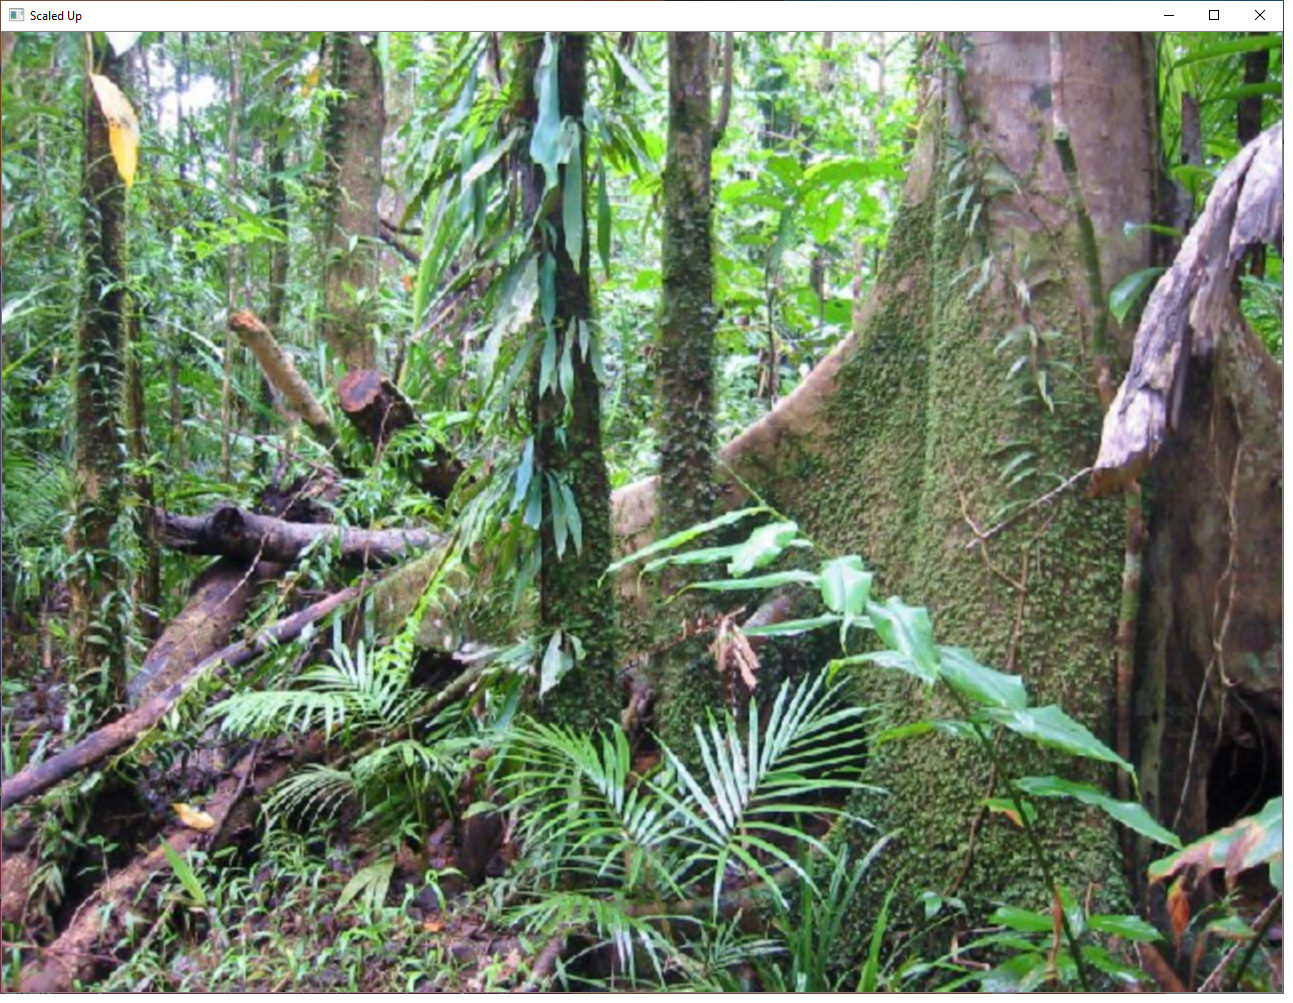
If we scale the original image up, we get the following image below.
So let's now go to the code to see how this is done.
Let's now go over this code.
First, we import OpenCV using the line, import cv2, along with numpy and matplotlib.
Next, we read in the original image, which in this case is, Rainforest-trees.png
We show the image and then print out the size of the image. These are the original dimensions of the image.
We then create a variable, scaled_down, which stores the scaled down image of the original image using the cv2.pyrDown() function.
We then show the scaled down image.
We then create another variable, scaled_down2, which stores the image scaled down further again. We pass the scaled_down variable and scale it down again. Therefore, the original image has now been scaled down twice.
We then show the further scaled down image and output the size of the image.
We then scale the original image up.
We create a variable, scaled_up, which stores the image scaled up using the cv2.pyrUp() function.
We then show this scaled up image and output the size of this scaled up image.
If you wanted to scale this image up again, you could do so by passing in the scaled_up variable into the cv2.pyrUp(), another time. This would double the pixels again, width and height. We don't do in this case simply because the computer screen (that I have) isn't big enough to show the image if we double it again without cutting parts of it out.
Once we run this code, we get the following output shown below.
And this is how we can scale images up or down in Python using the OpenCV module to resize
images by doubling them or halving them.
Related Resources
How to Draw a Rectangle in Python using OpenCV
How to Draw a Circle in Python using OpenCV
How to Draw a Line in Python using OpenCV
How to Add Text to an Image in Python using OpenCV
How to Display an OpenCV image in Python with Matplotlib
How to Use Callback functions to Connect Images to Events in Python using OpenCV
How to Check for Multiple Events in Python using OpenCV