
How to Create a Region of Interest in an Image in Python using OpenCV

In this article, we show how to create a region of interest in an image in Python using the OpenCV module.
First, let's explain the concept of a region of interest.
A region of interest is a place on an image where we want to search for something.
For example, let's say that we have a car and there is a camera centered in the middle of the car. Let's say we want to establish autonomous features in the car like lane centering assistance. So, in order to do this, we need to be able to identify lanes on the image. Now when you're looking for lanes with the camera centered maybe in the center of the car, you're not going to look for lanes in the sky or in all the way to the right or the left. The lane will be somewhat to the left and right and near the ground, not in the sky. So establishing a region of interest in the image is important because it allows us to zoom into a certain region to look for something, which helps to narrow our focus.
You can also think of it like searching for something. If you lost your keys and you know you've only been to the kitchen and your bedroom, you'll only search the kitchen and bedroom. You're not going to search the bathroom or living room when you know you didn't leave it there.
A region of interest gives us a more narrow focus.
So, for this example, we are going to use the following image shown below.
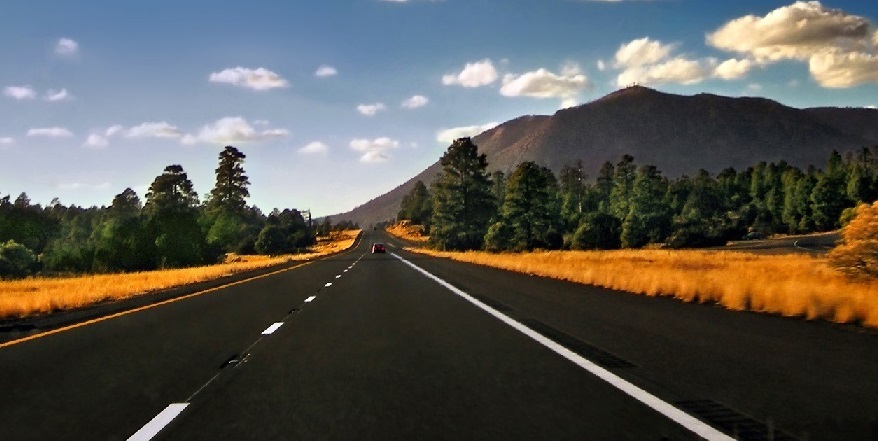
Now you see that there is a lot of things in this image but the most basic thing for an autonomous car is that it's a road that it drives on and it needs to detect the lanes, so that it can stay centered while driving. Notice, though, there is vegetation on the side of the road, including grass and trees. There is a mountain in the distance and there is a sky above. We don't want to look for lanes in the vegetation or in the mountains or in the sky. We want to establish a region of interest so that we can narrow our focus to where the lanes are, so that we can stay centered.
After establishing a region of interest, our new image with a region of interest is
shown below.
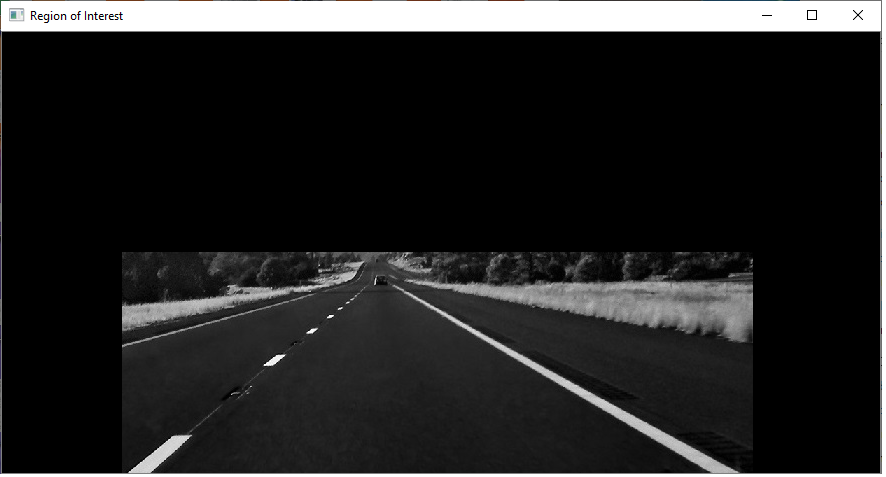
Now we have a much more focused view of where our software should be looking for lanes. You see that we have cut out the sky and much of the trees and vegetation. We are now looking mostly down and to the immediate left and right for lane markings.
So let's see how to do this now how to establish a region of interest in Python using OpenCV in code.
Below is the full code to establish the region of interest of the above image.
Let's now go over this code.
First, we import OpenCV using the line, import cv2. We then import numpy as np, because we need this to black out the areas that are not in our region of interest.
Next, we read in the image, which in this case is, Road-lanes.jpg
Next, we want to get the height and width of our image, because they will help us define our region of interest (in this case, the height).
We then create a grayscale version of our image, which simplifies the image.
Next, we create a variable, ROI, which contains all the coordinates for our region of interest.
You have to manually set the coordinates that you want to be a region of interest.
For an autonomous vehicle, you may think if you have to manually do it, how can it be useful. In this example, we manually enter in the coordinates just for educational purposes, but if you're actually building an autonomous system, you may want to find out where your camera is located relative to the image that it takes and then from those coordinates look a certain distance to the left, right, up, and down to look for the lane markings. For example, maybe you'd look only 400 px to the left and to the right and maybe only 300px up.
Again, in this example, we just hardcode in the coordinates starting from the left bottom, to the left top, to the right top, to the right bottom to establish our coordinates.
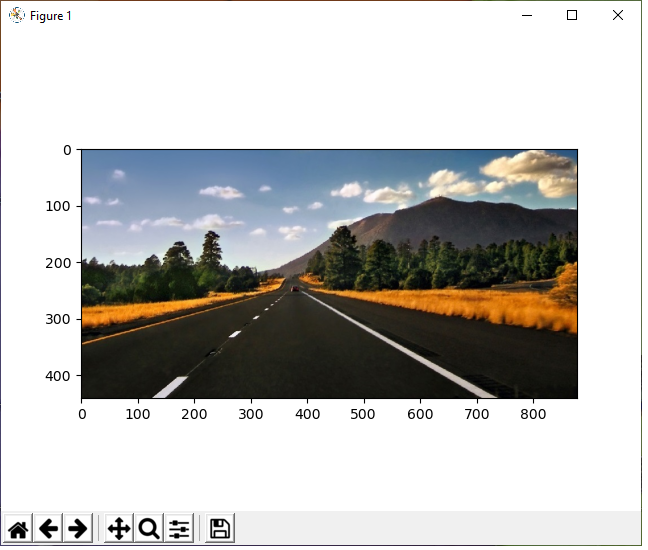
To see our original image with x and y axes, look at the image shown at the following link: Original Image with Grids.
For our leftmost coordinate on the bottom, we choose to start looking at 120px for the x-coordinate and the full height of the image for the y-coordinate.
For both the topmost coordinates, we choose a height of 220px. For the leftmost top coordinate, we have an x-coordinate of 120px. For the rightmost coordinate, we have an x-coordinate of 750px. For our rightmost bottom coordinate, we have an x-coodinate of 750px and a y-coordinate of the height of the image.
We then create a variable, blank, which blacks out the gray image.
We then create a variable, region_of_interest_white, which fills in the region of interest with white. The cv2.fillPoly() function allows us to fill the region of interest as a white color in the completely black image. White is a color of 255. The reason we do this is because we then do a bitwise and function. Remember that an AND function is only true when 2 1s are ANDed together. The black represents a 0, so the blacked out part of the image will always be 0. The white represents a 1, so when we do an AND bitwise function, this part will come out true.
In the next line, we do an AND bitwise function between the original gray image and the region_of_interest_white, which is the image with the region of interest in white.
We then show the image with only the region of interest.
So this is the way that we can create a region of interest in an image, so that
we can focus on areas that we need to for certain given tasks.
Related Resources
How to Draw a Rectangle in Python using OpenCV
How to Draw a Circle in Python using OpenCV
How to Draw a Line in Python using OpenCV
How to Add Text to an Image in Python using OpenCV
How to Display an OpenCV image in Python with Matplotlib
How to Use Callback functions to Connect Images to Events in Python using OpenCV
How to Check for Multiple Events in Python using OpenCV